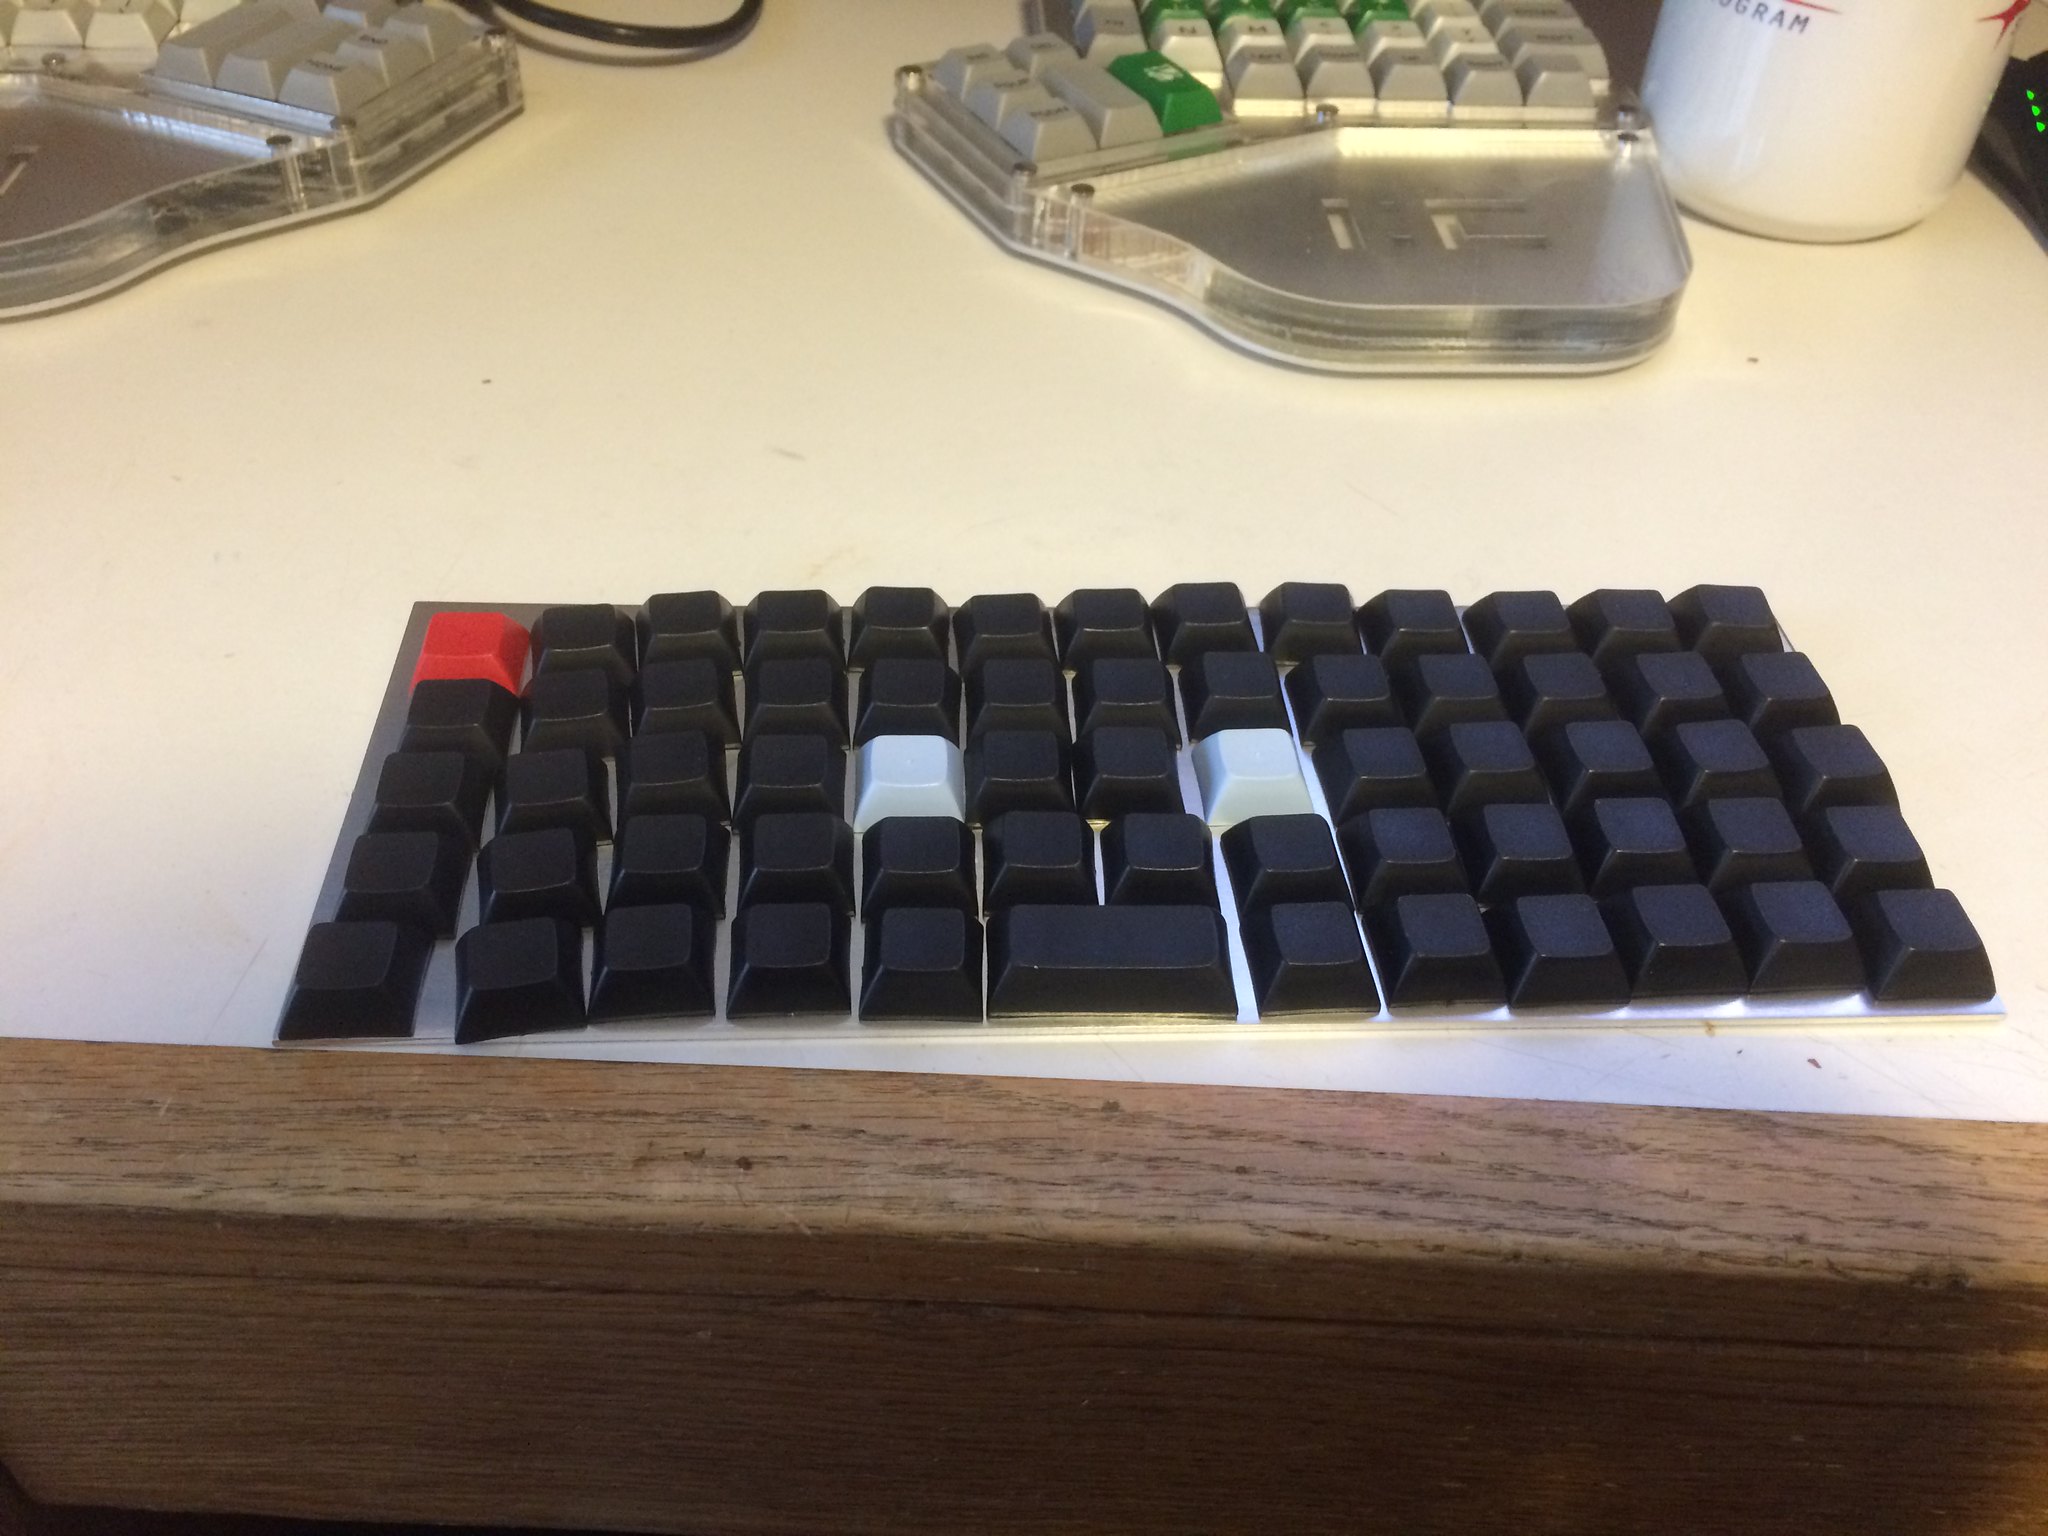
How I built a keyboard by hand
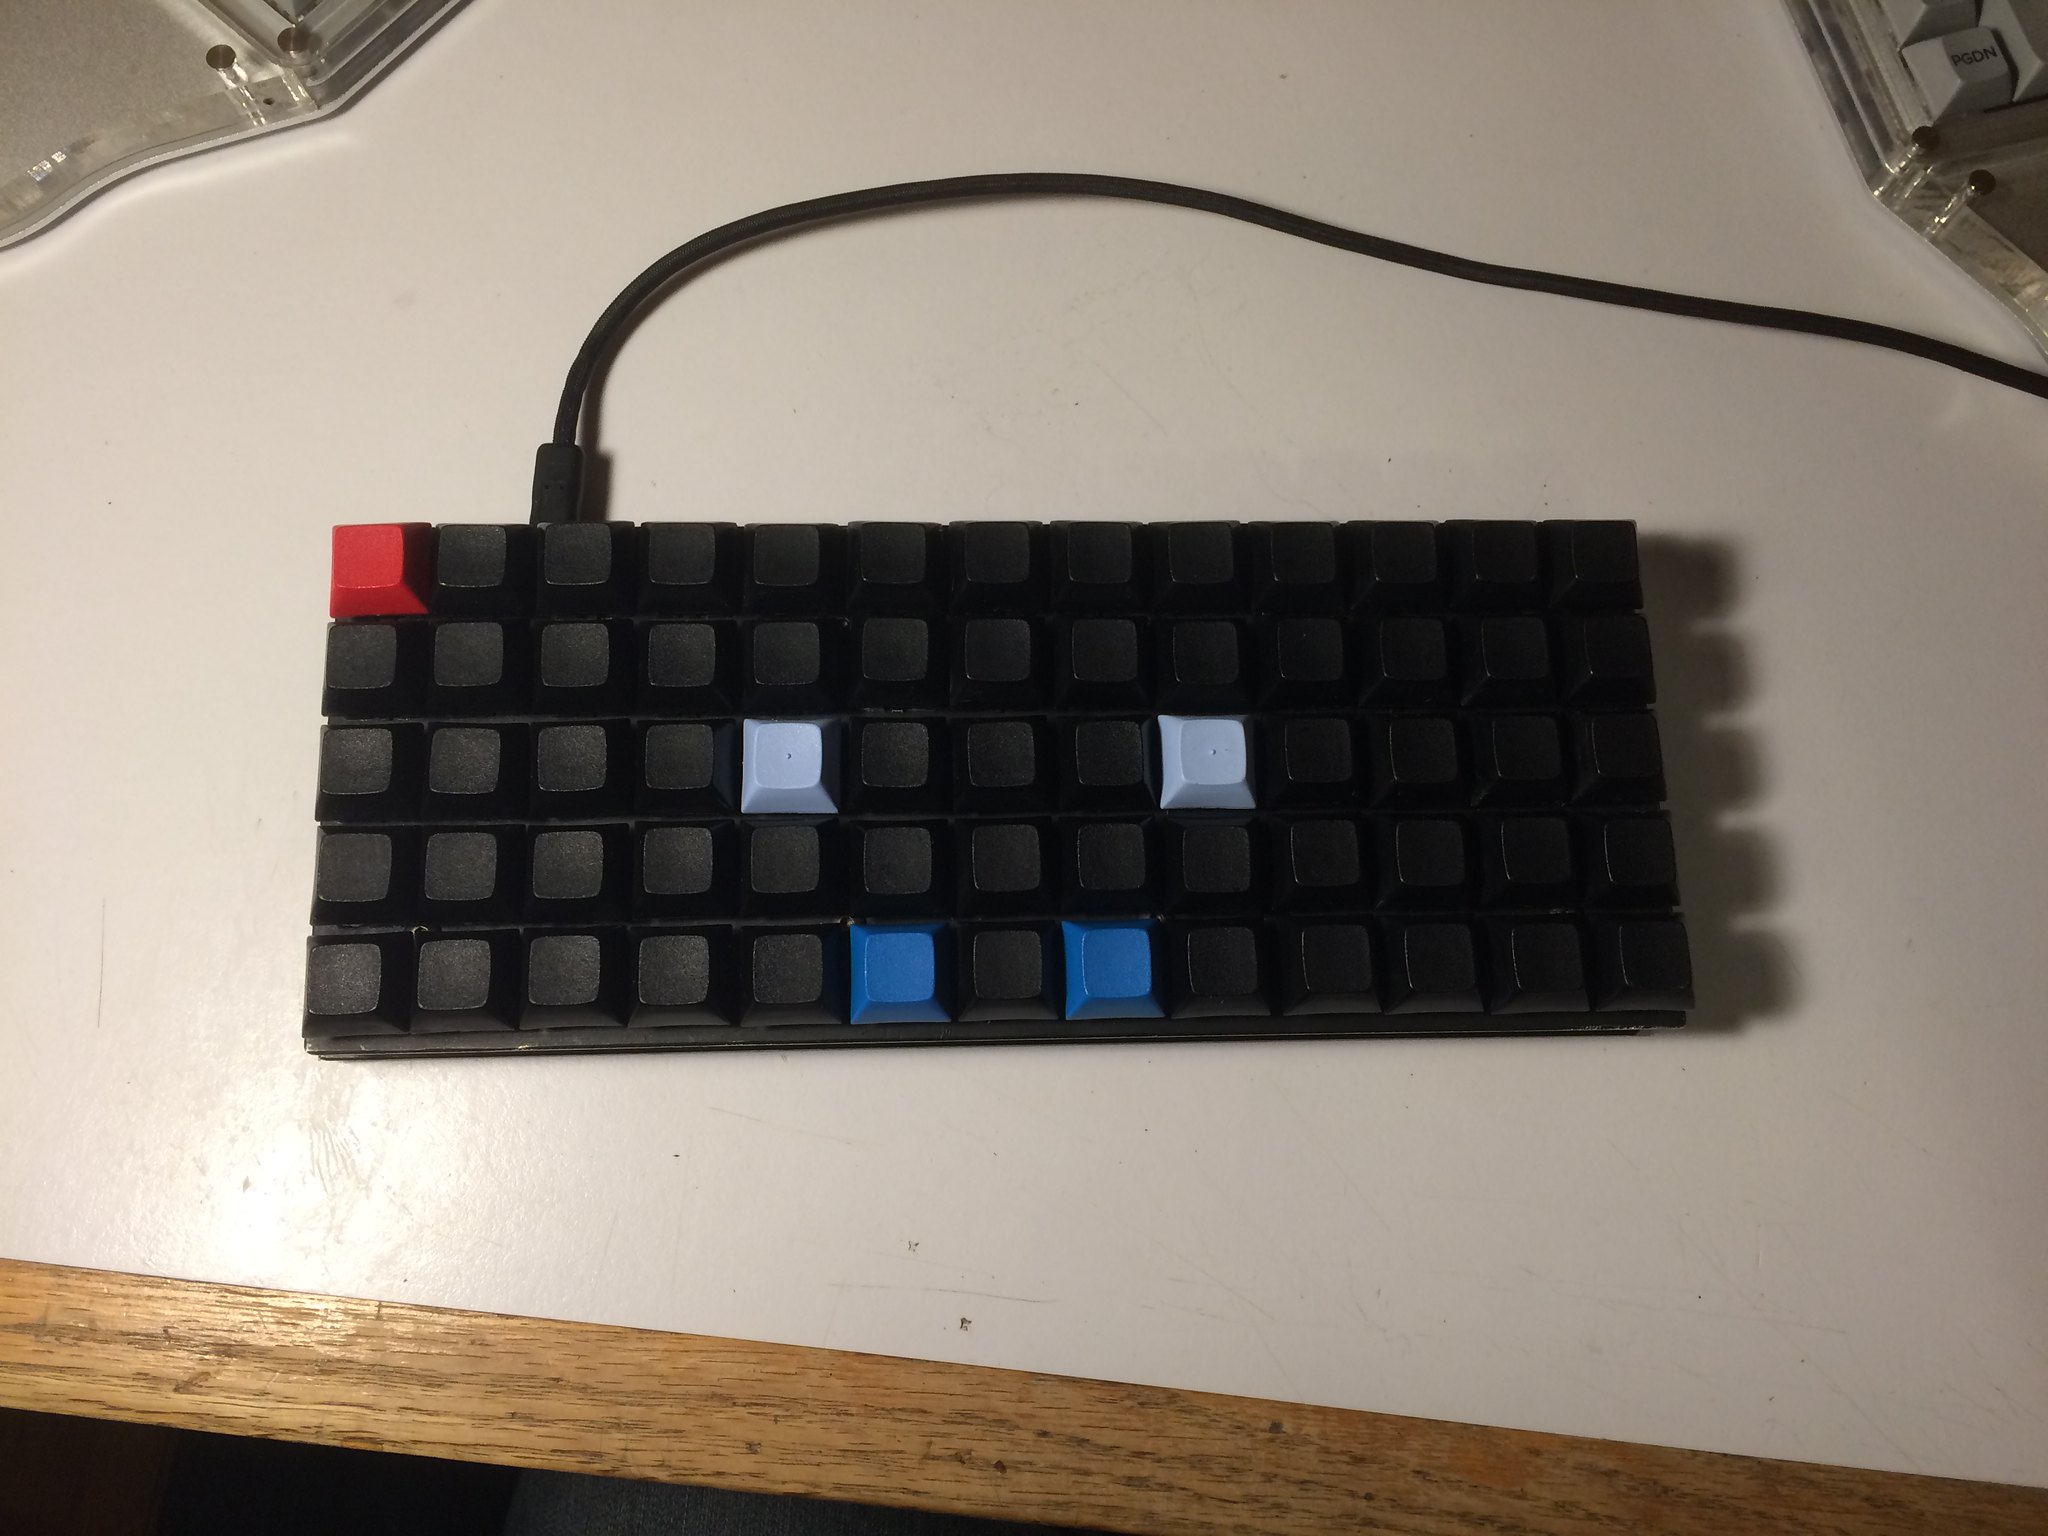
I had spare mechanical keyboard switches and keycaps from other keyboard projects, and I wanted to see if it would be feasible to build a keyboard using only hand tools.
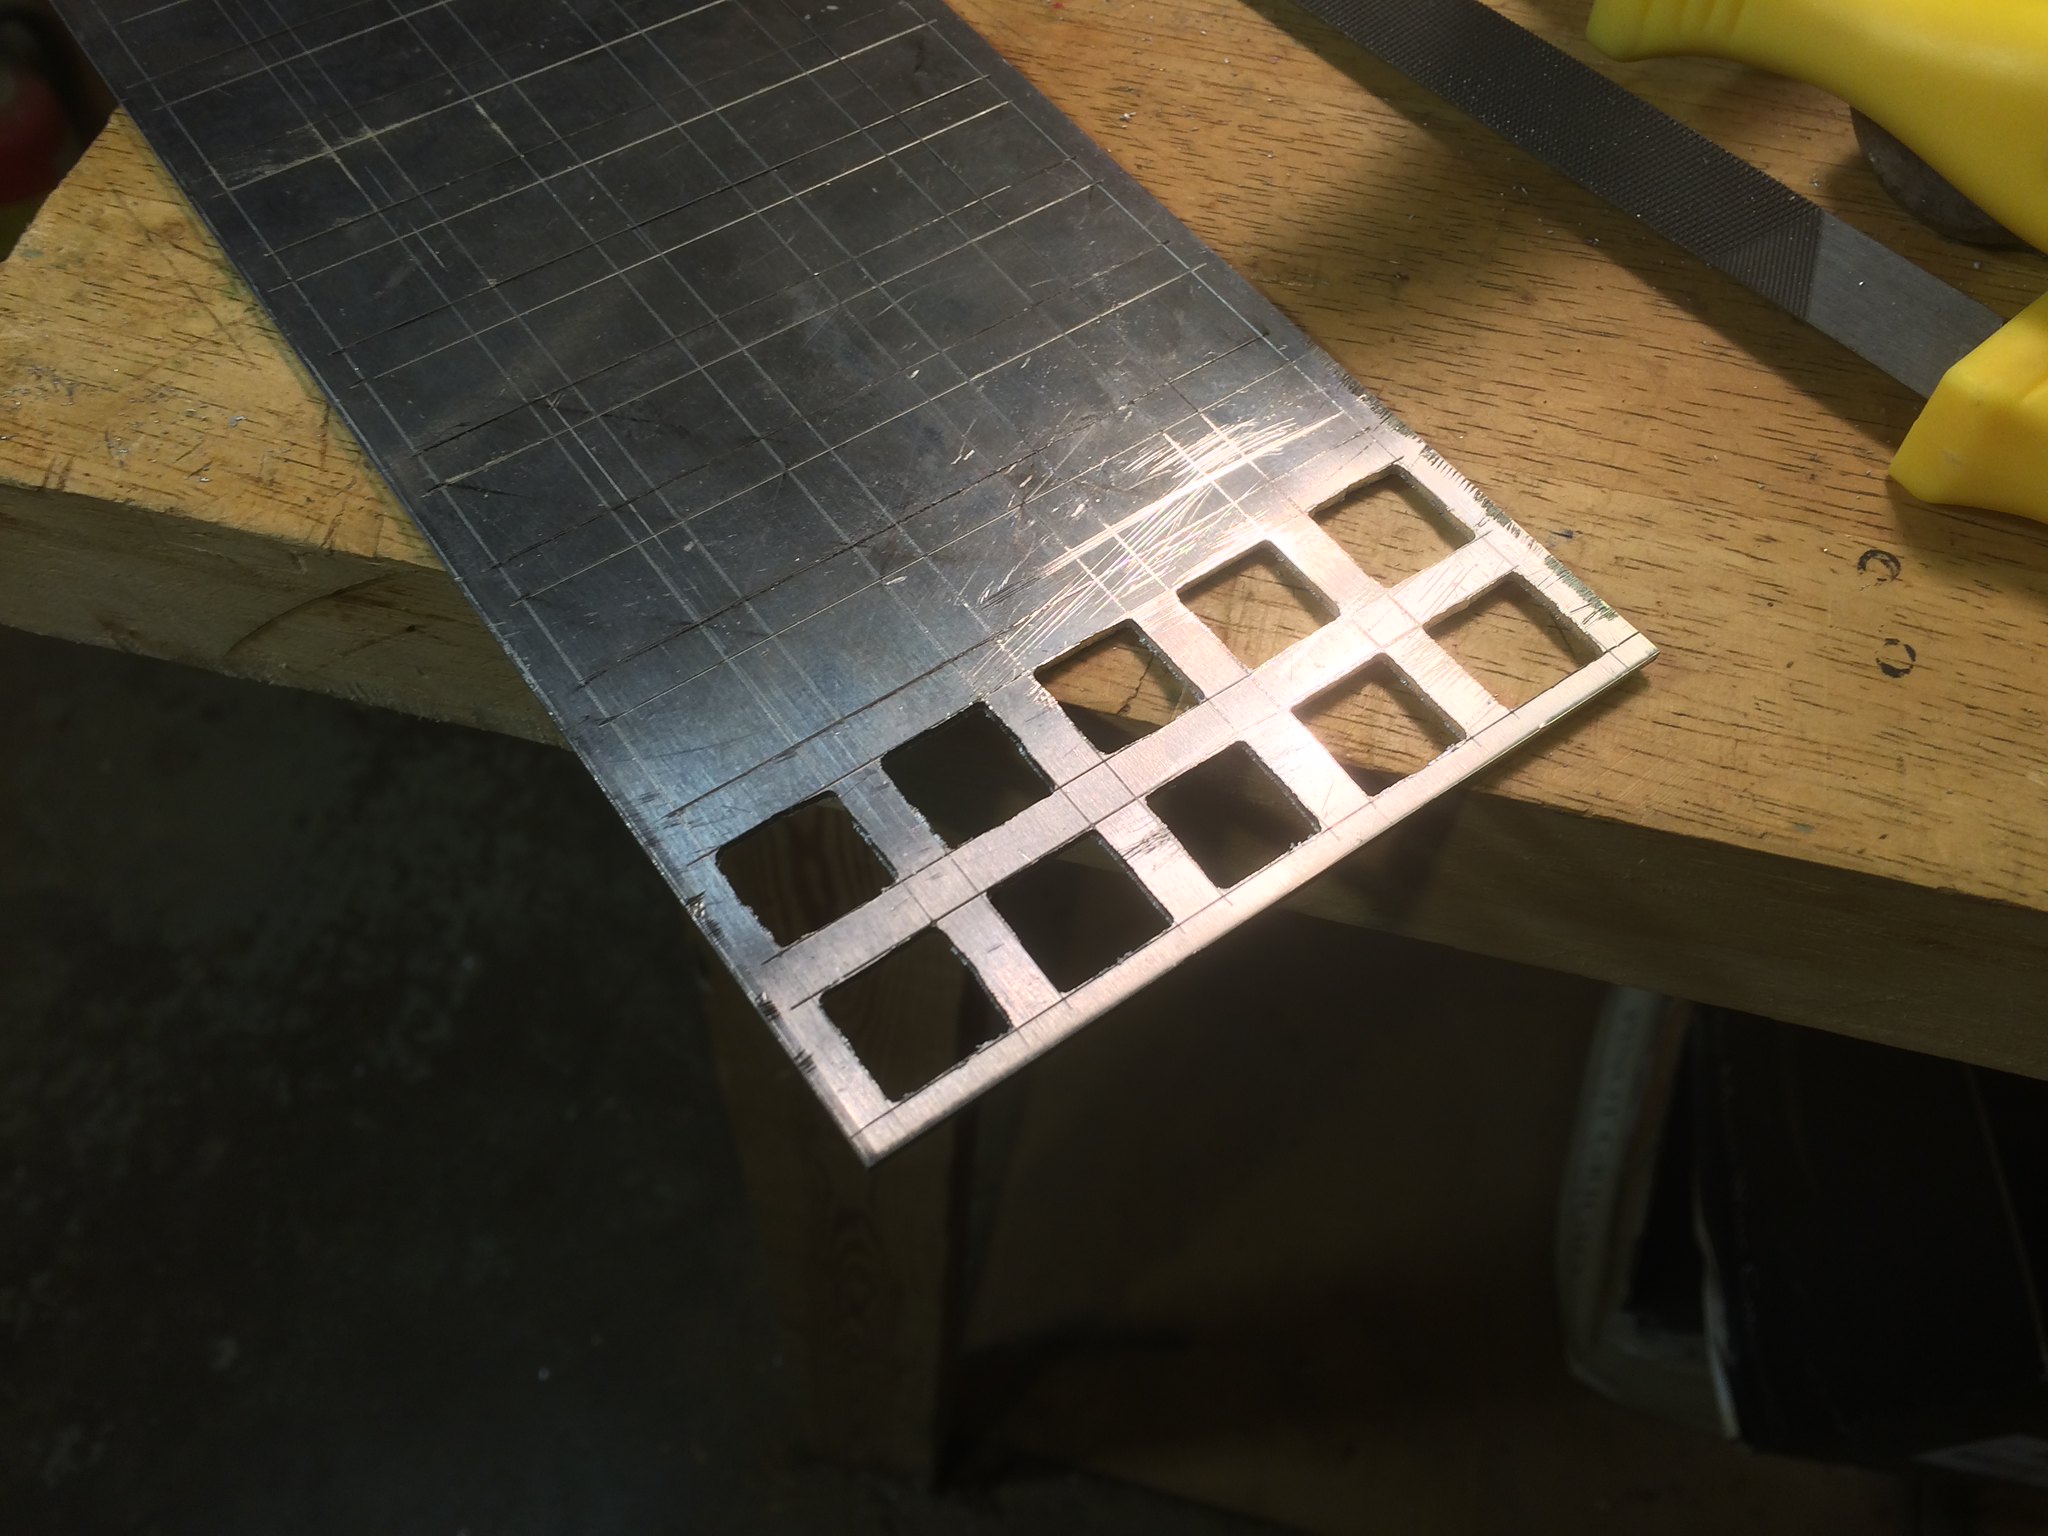
I started with some aluminum sheet stock from the hardware store. It was perfectly sized to build a 5 column, 13 row grid keyboard, without any wasted space.

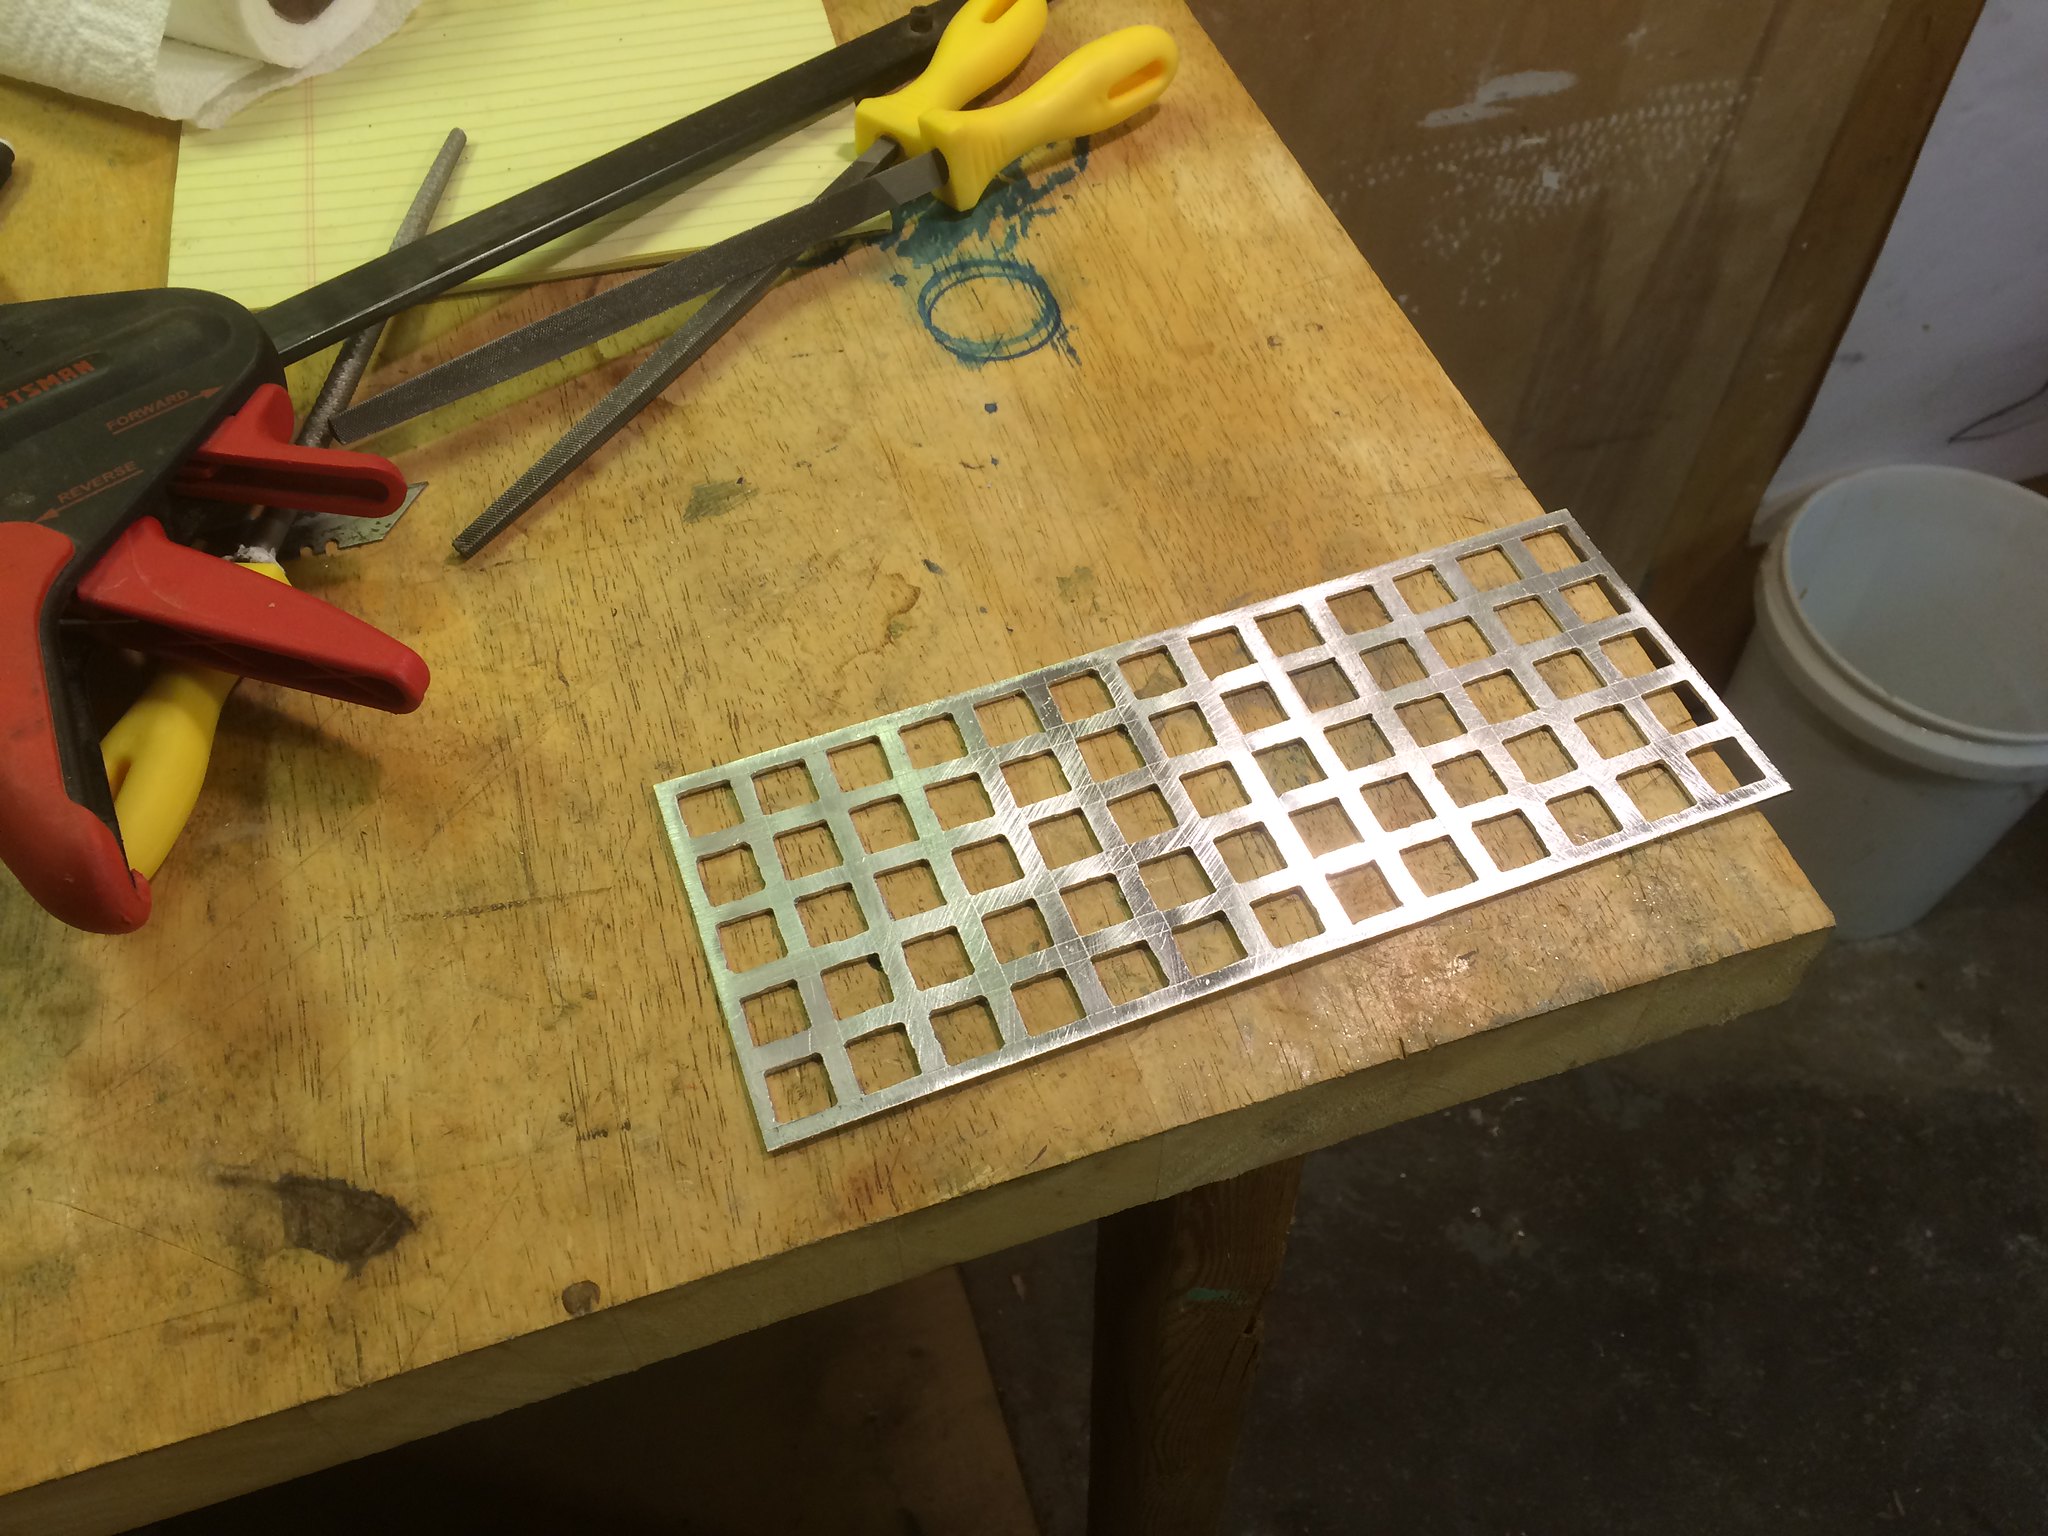
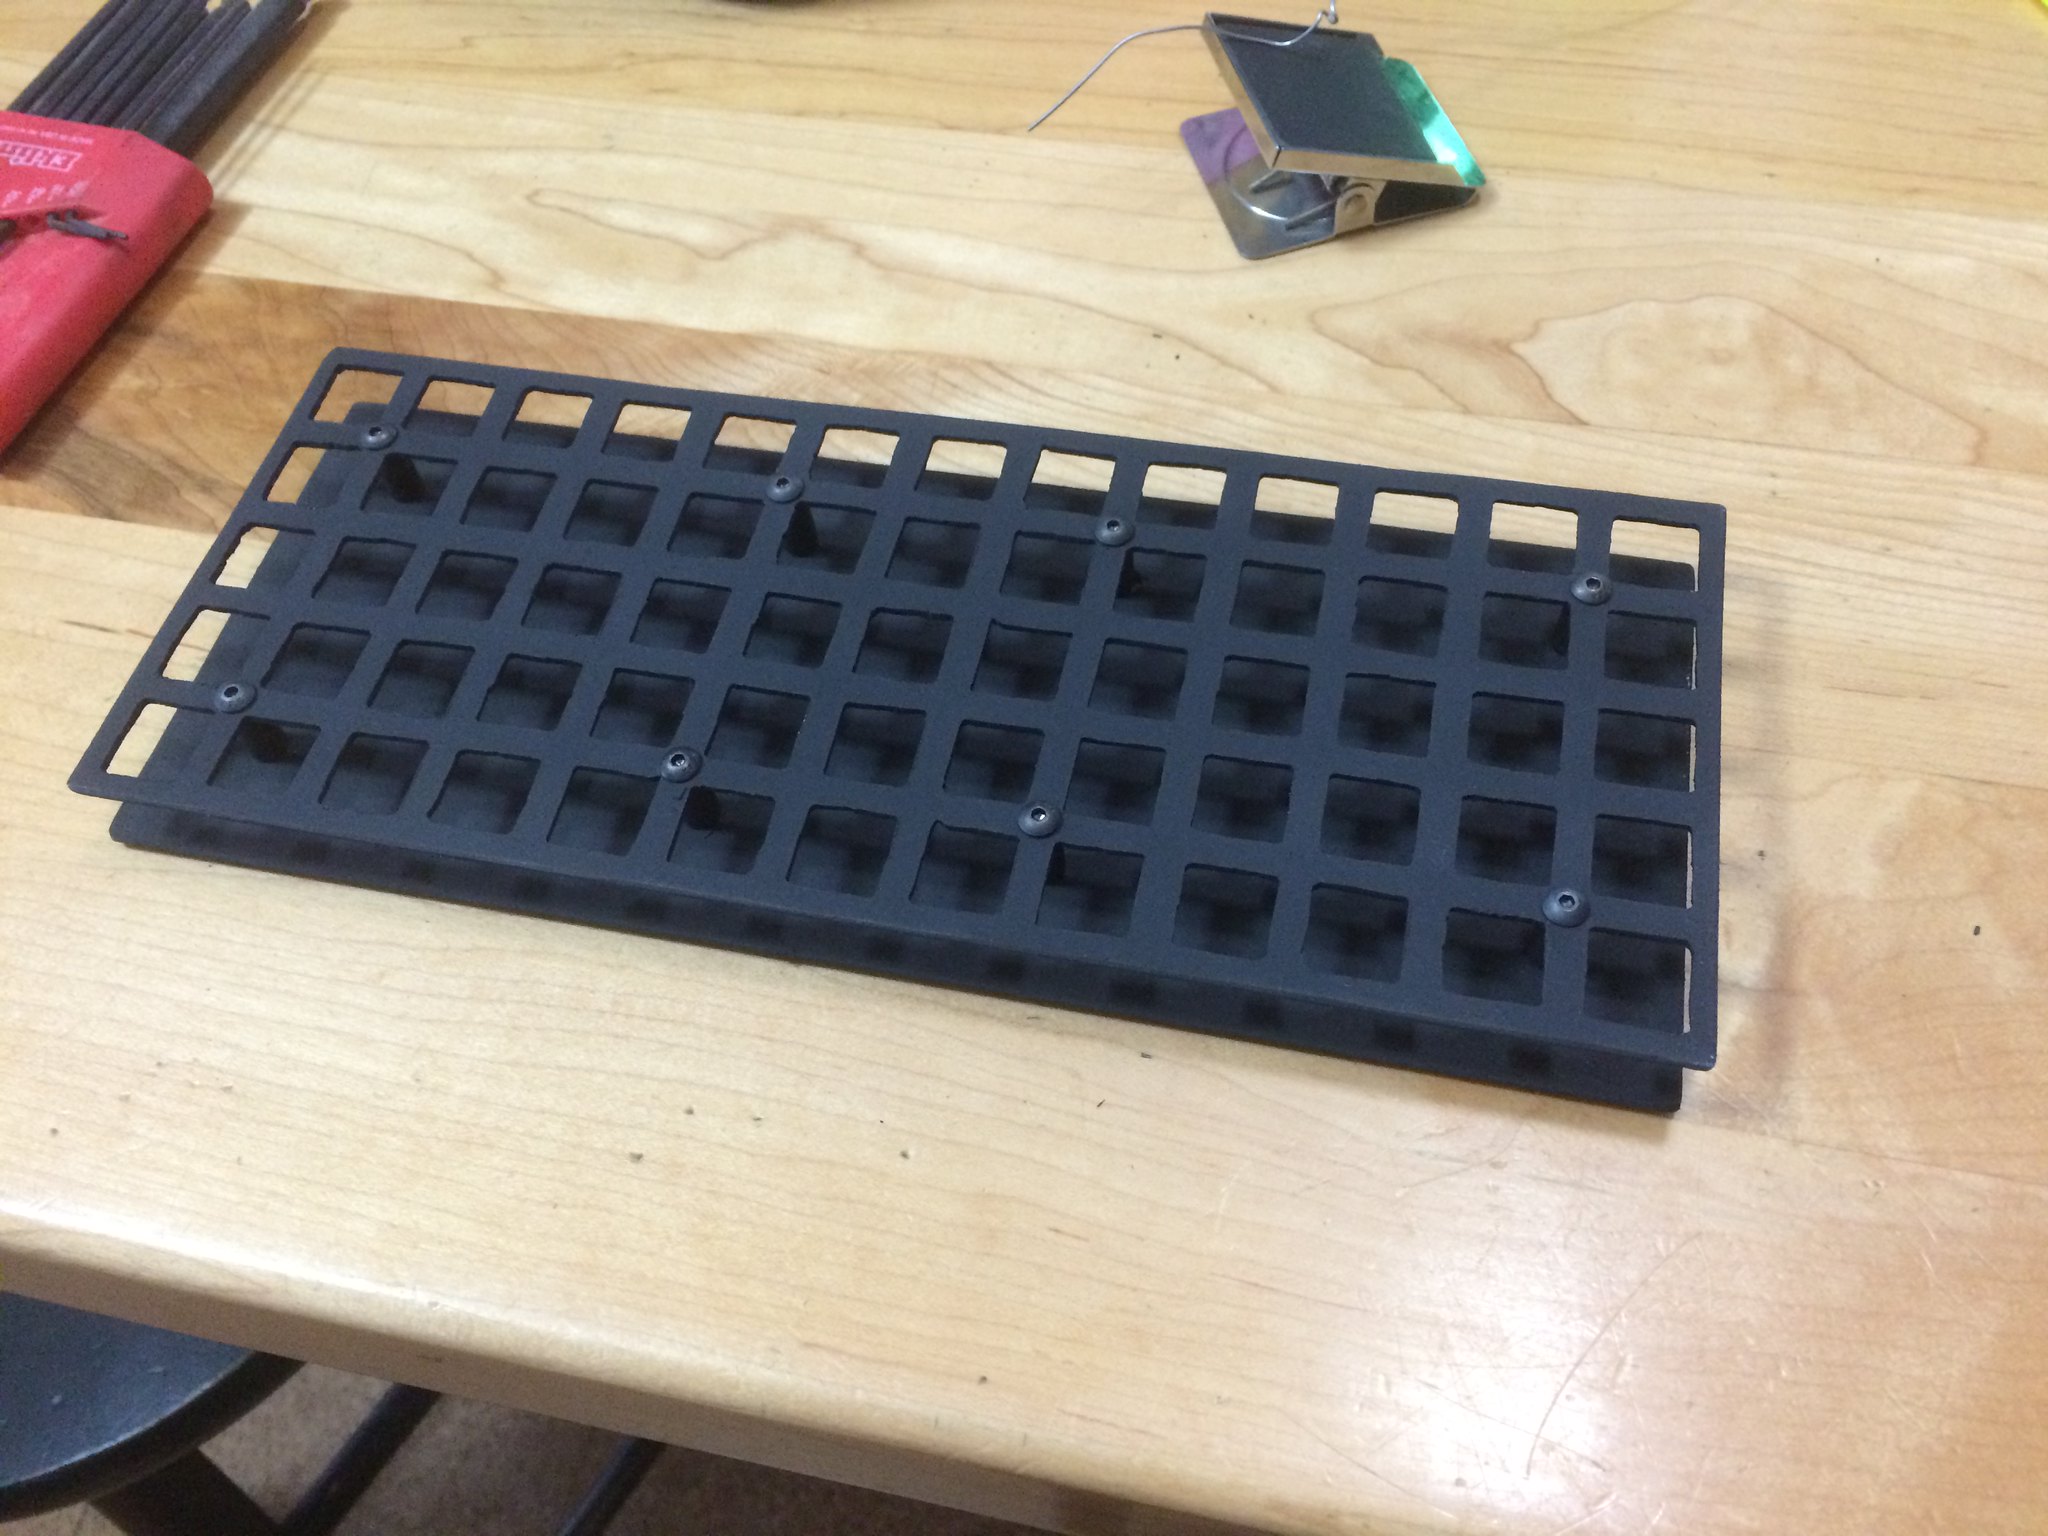
I started by laying out where the switch holes would be cut. The holes are 14 mm squares, with 5.5 mm in between. I used a blade to scribe the layout into the metal.
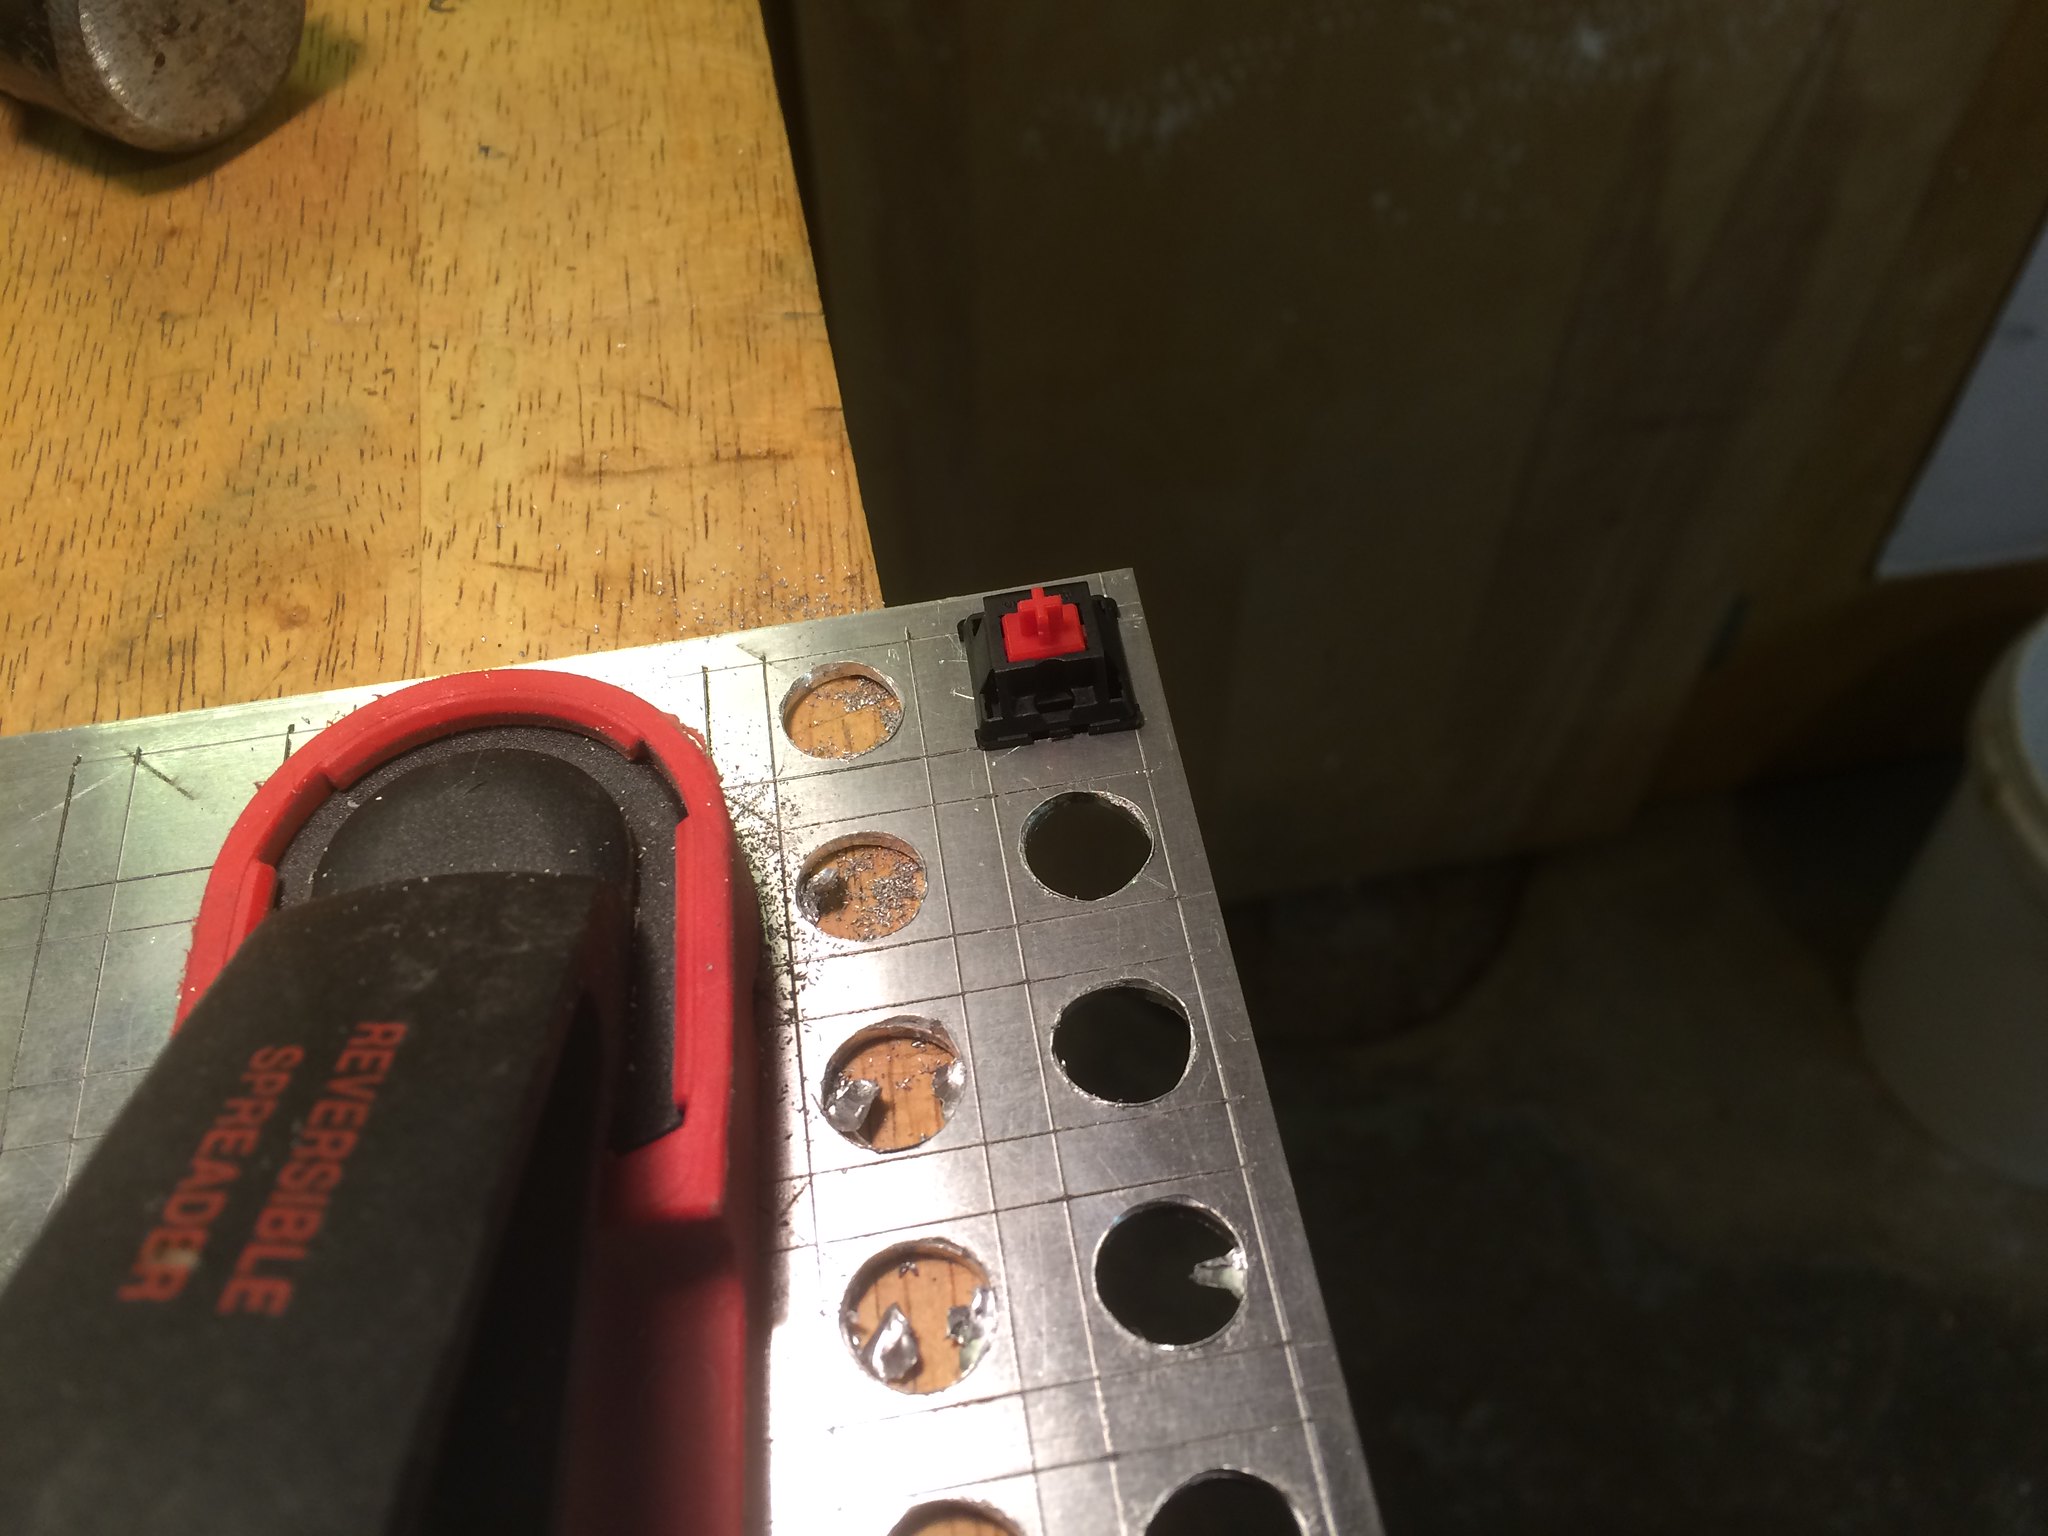
I drilled a hole for each switch, and filed them square.
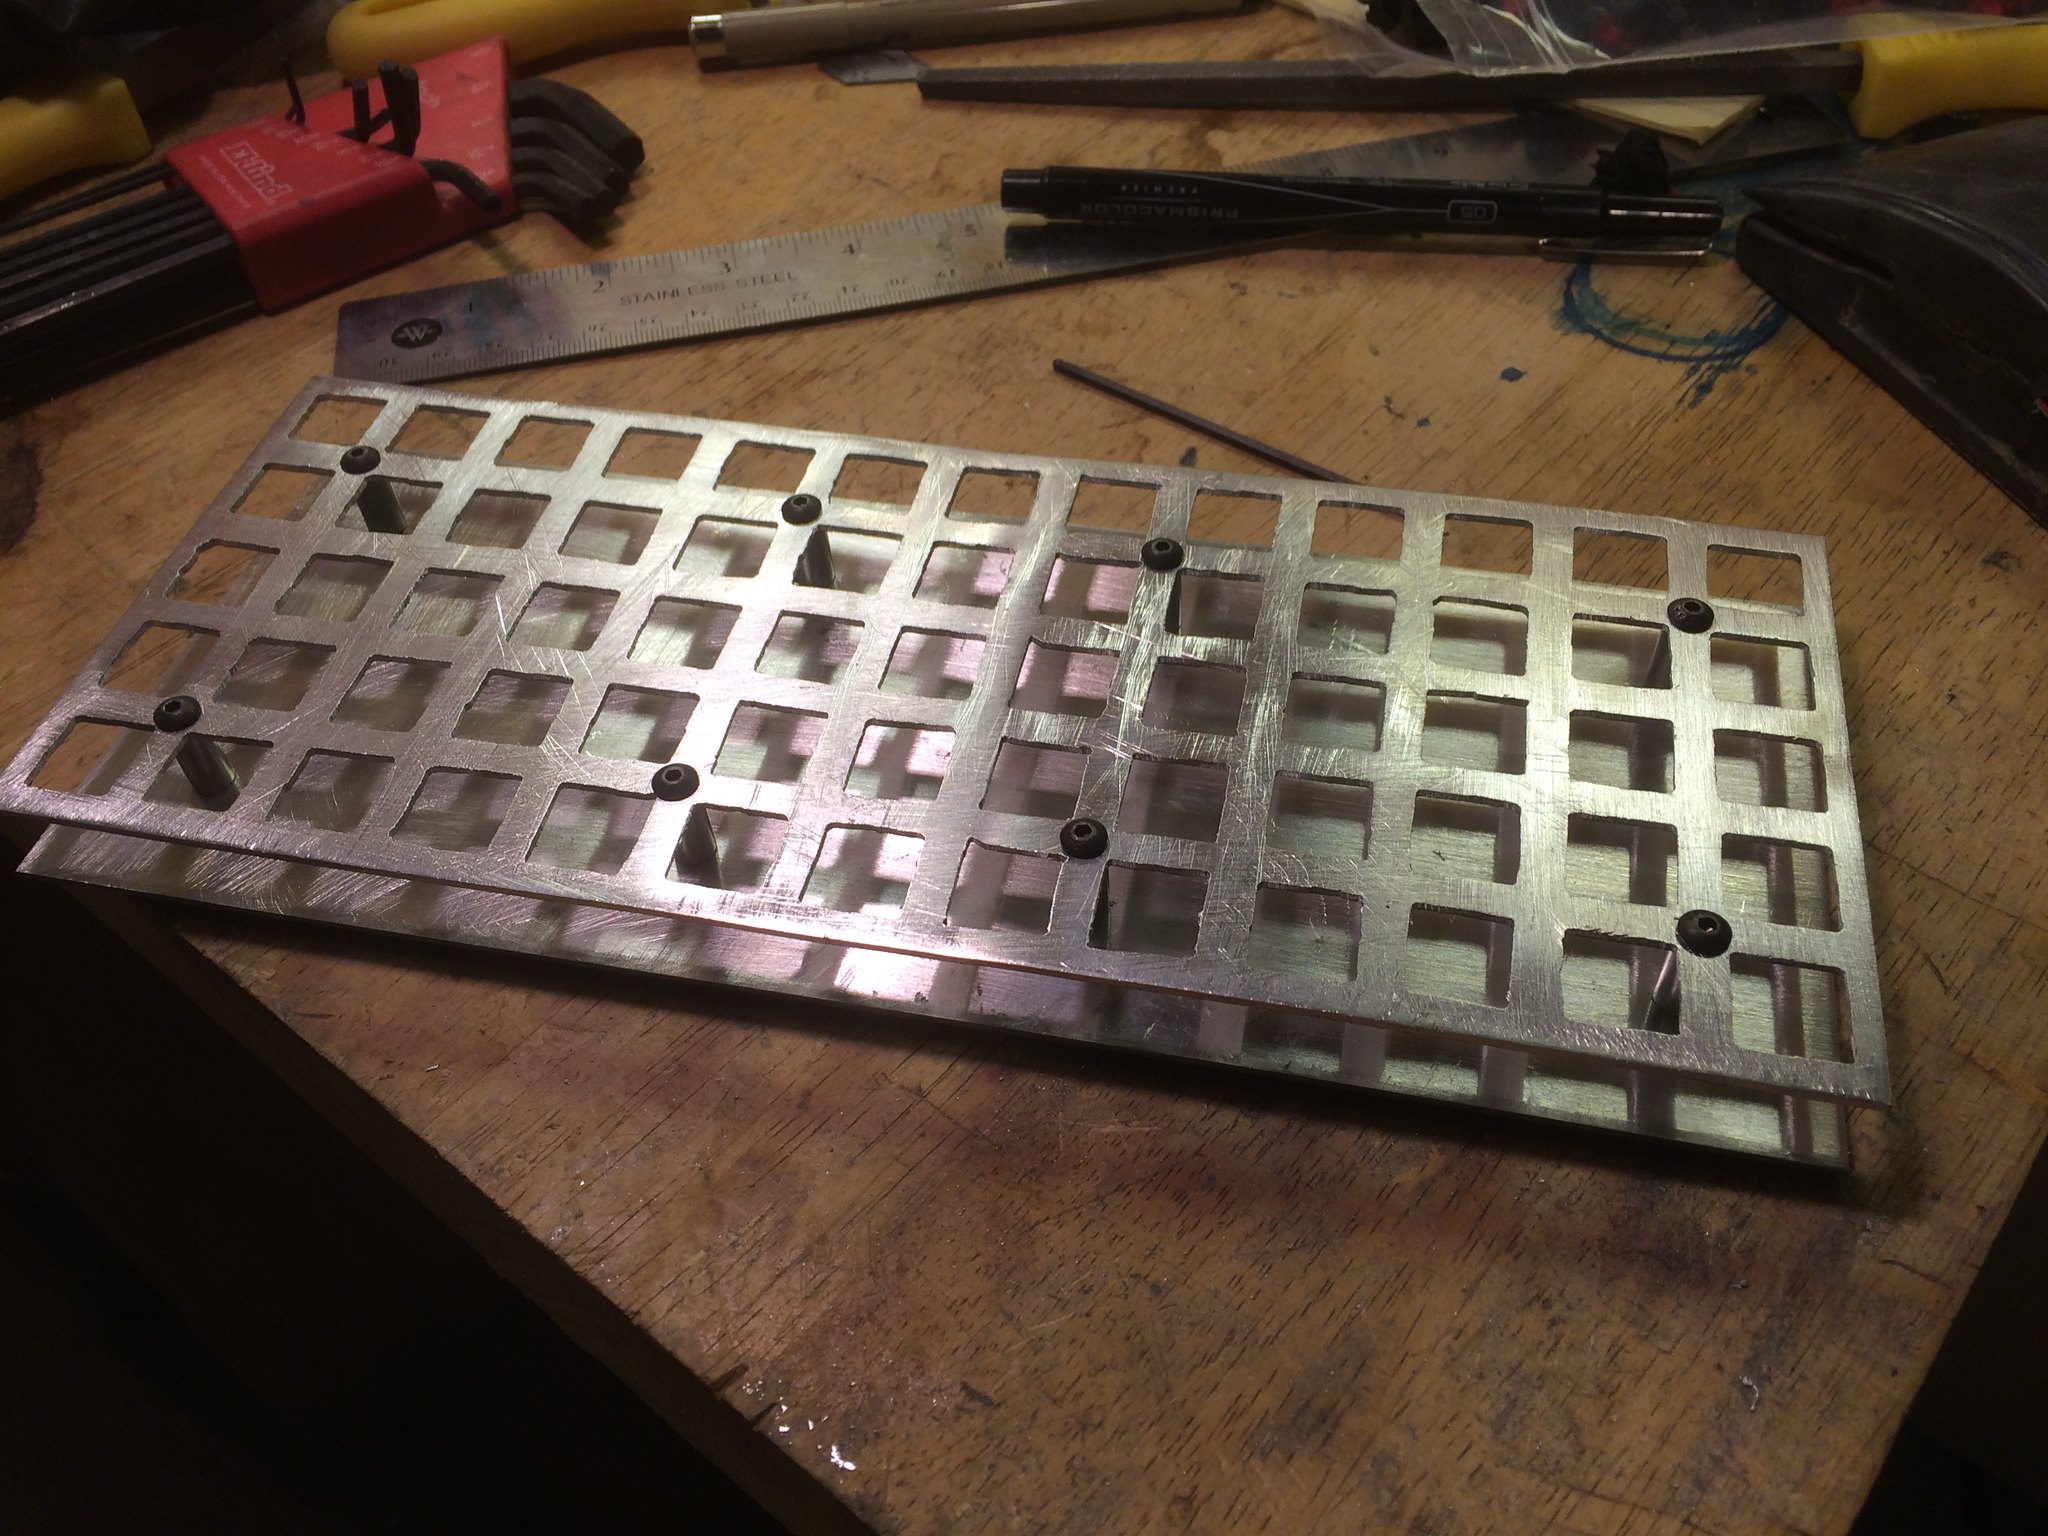
Once the top plate was done, I used another piece of the same aluminum stock for the bottom of the keyboard, with metal standoffs to complete the case.
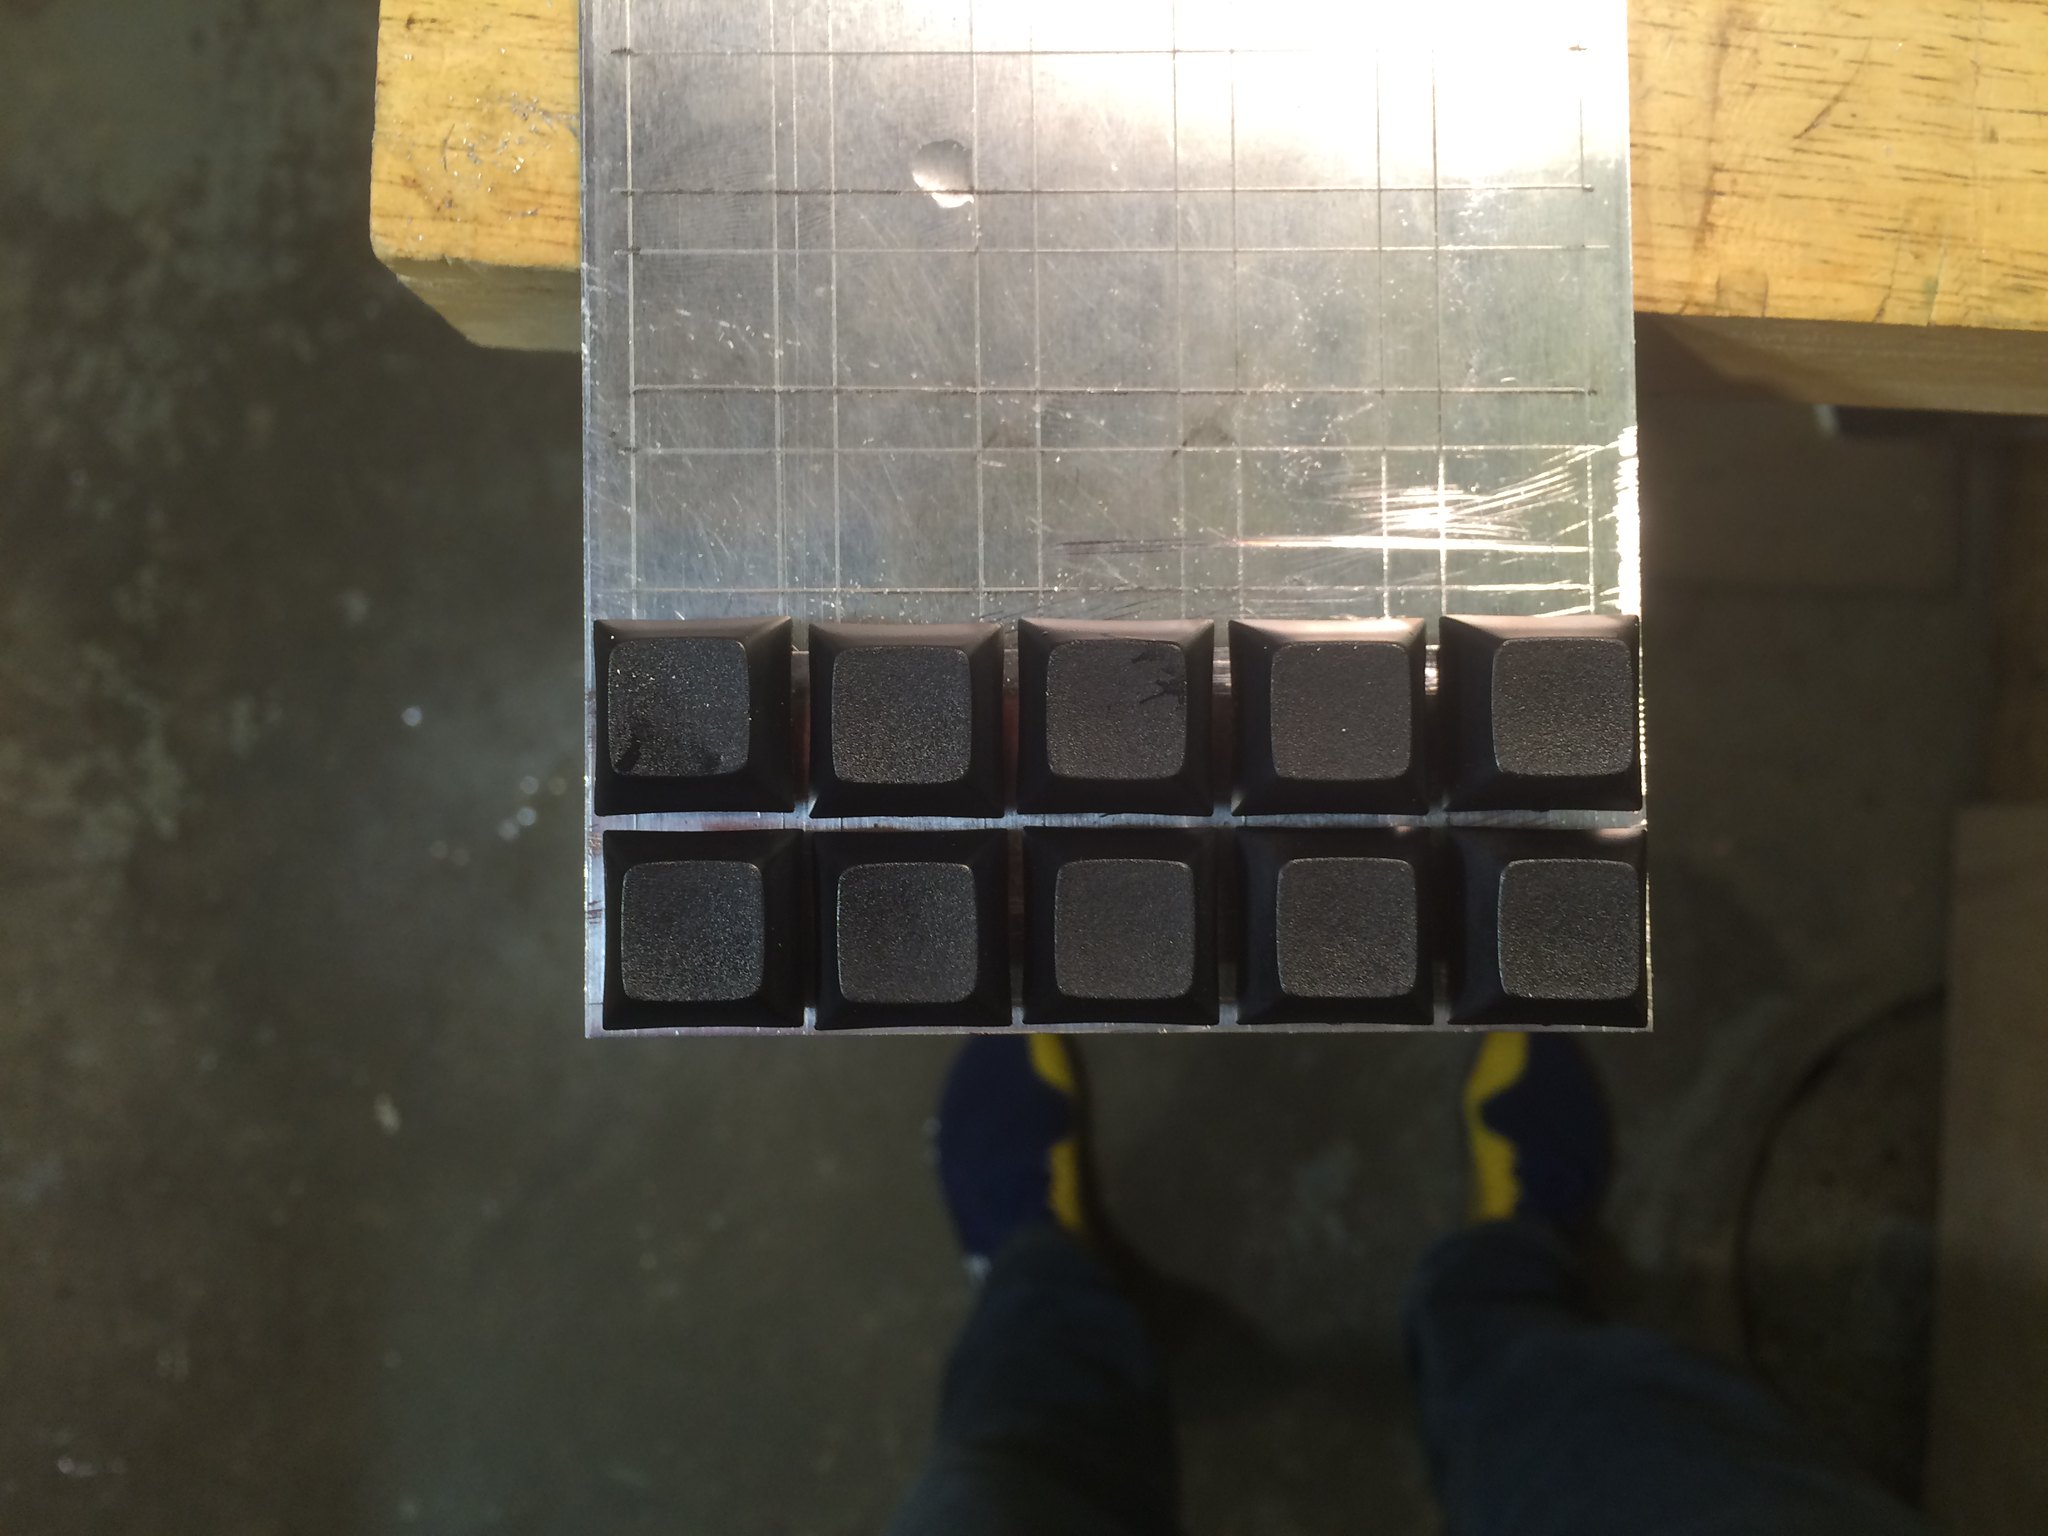
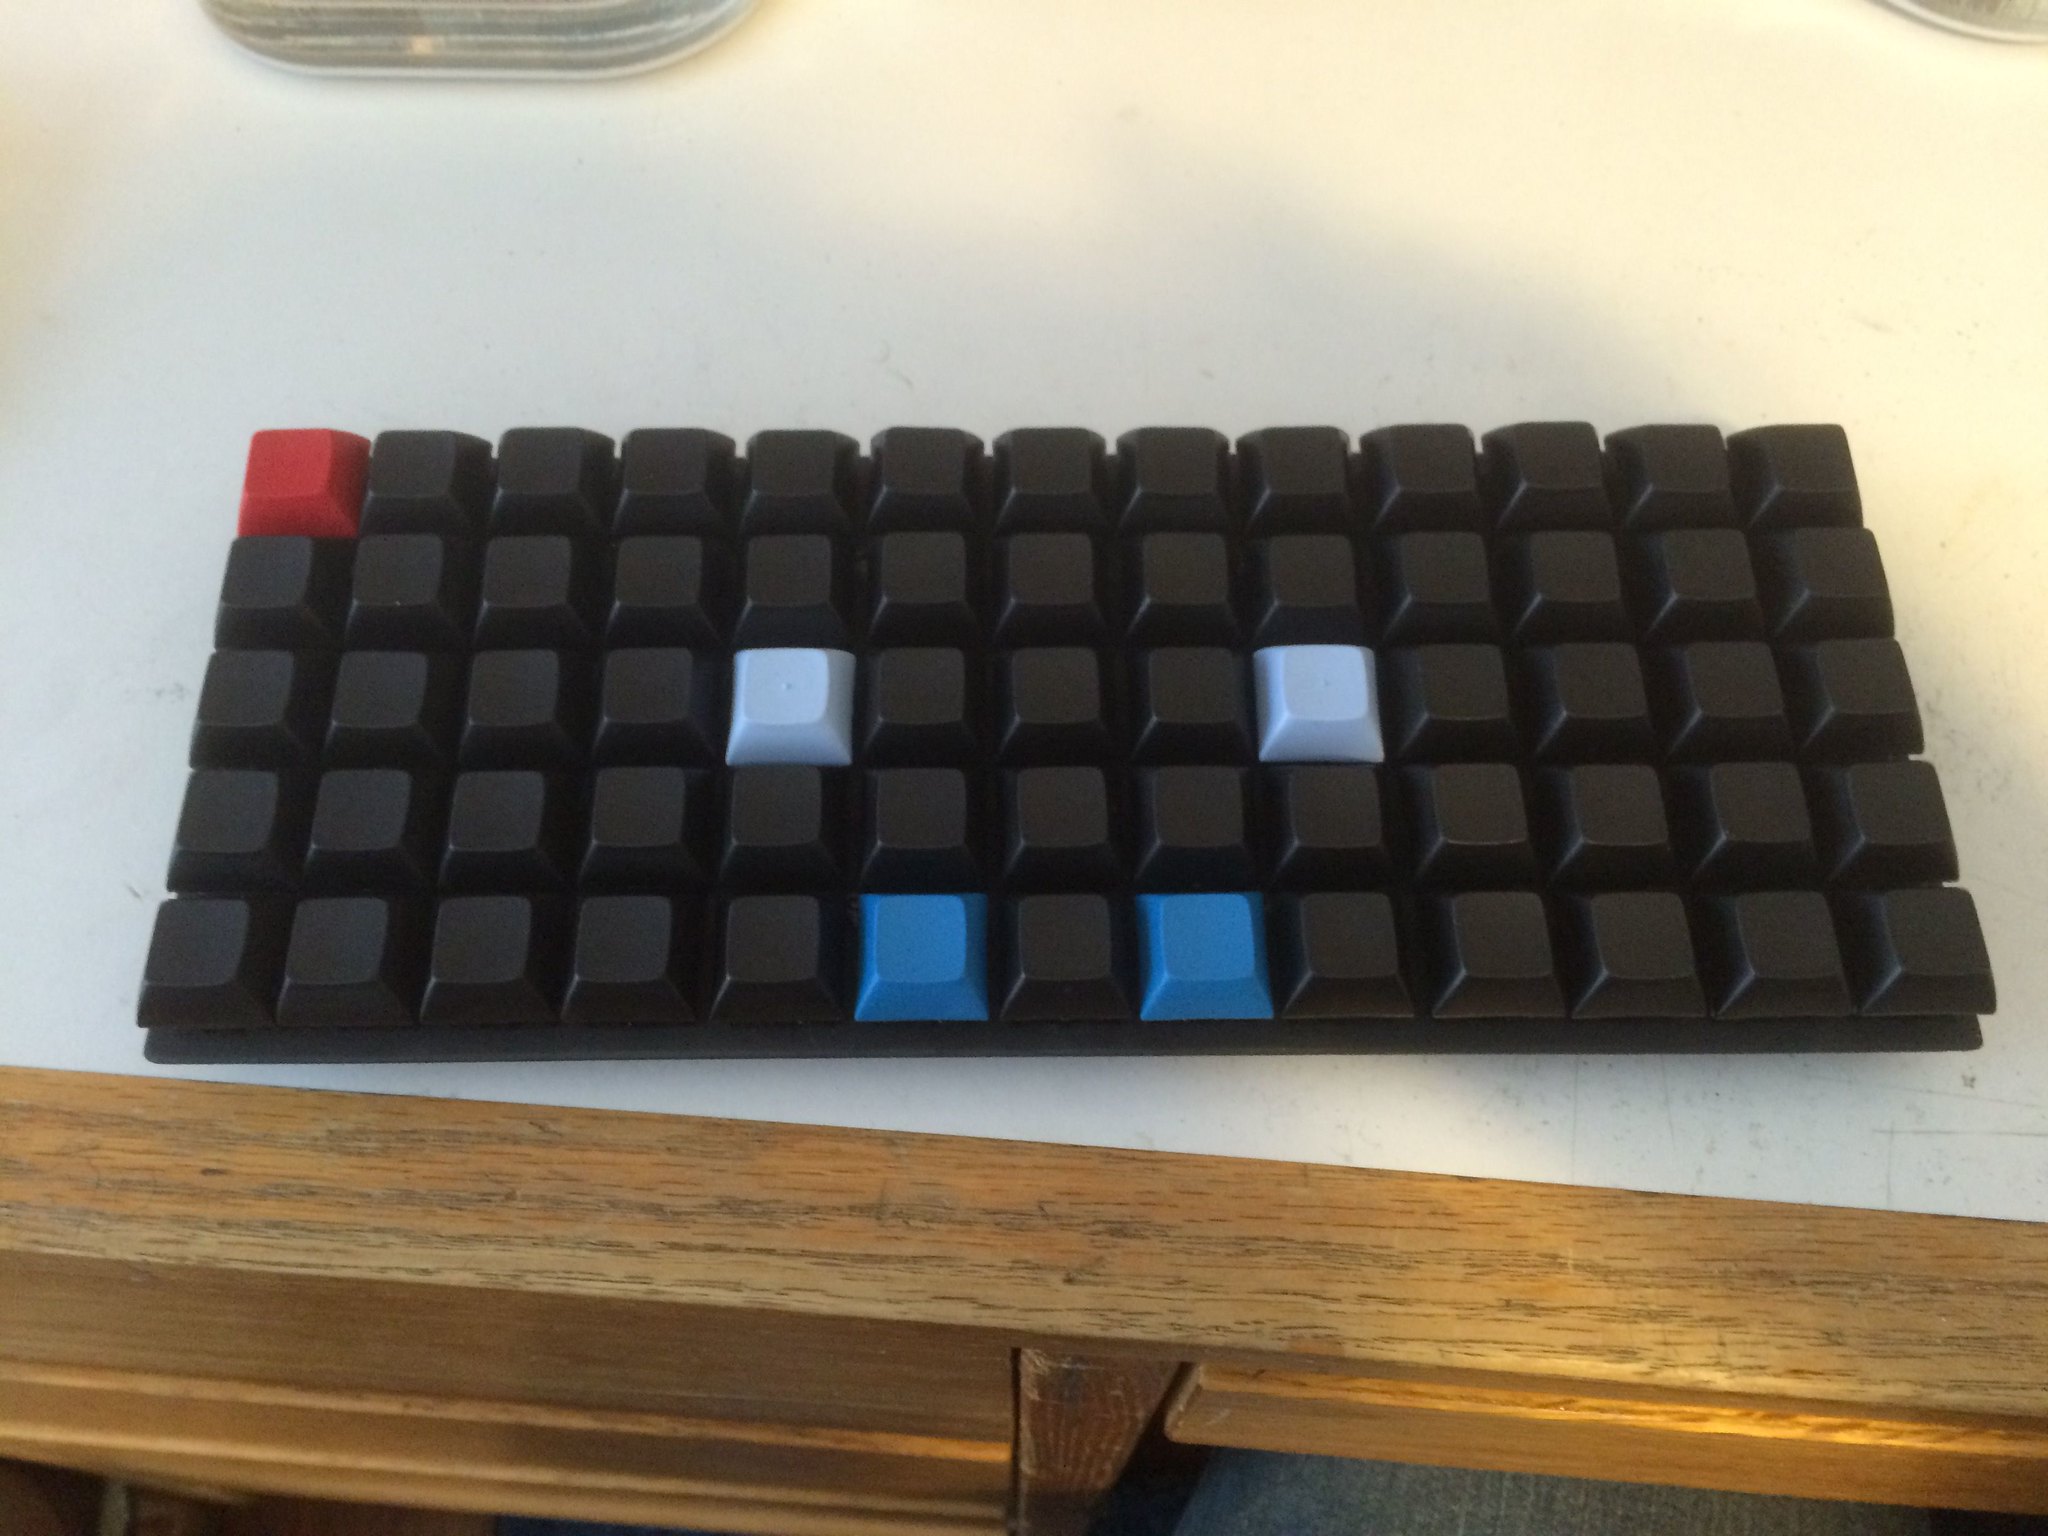
I painted the case black. This helps hide the misaligned keys, and makes it look more uniform.
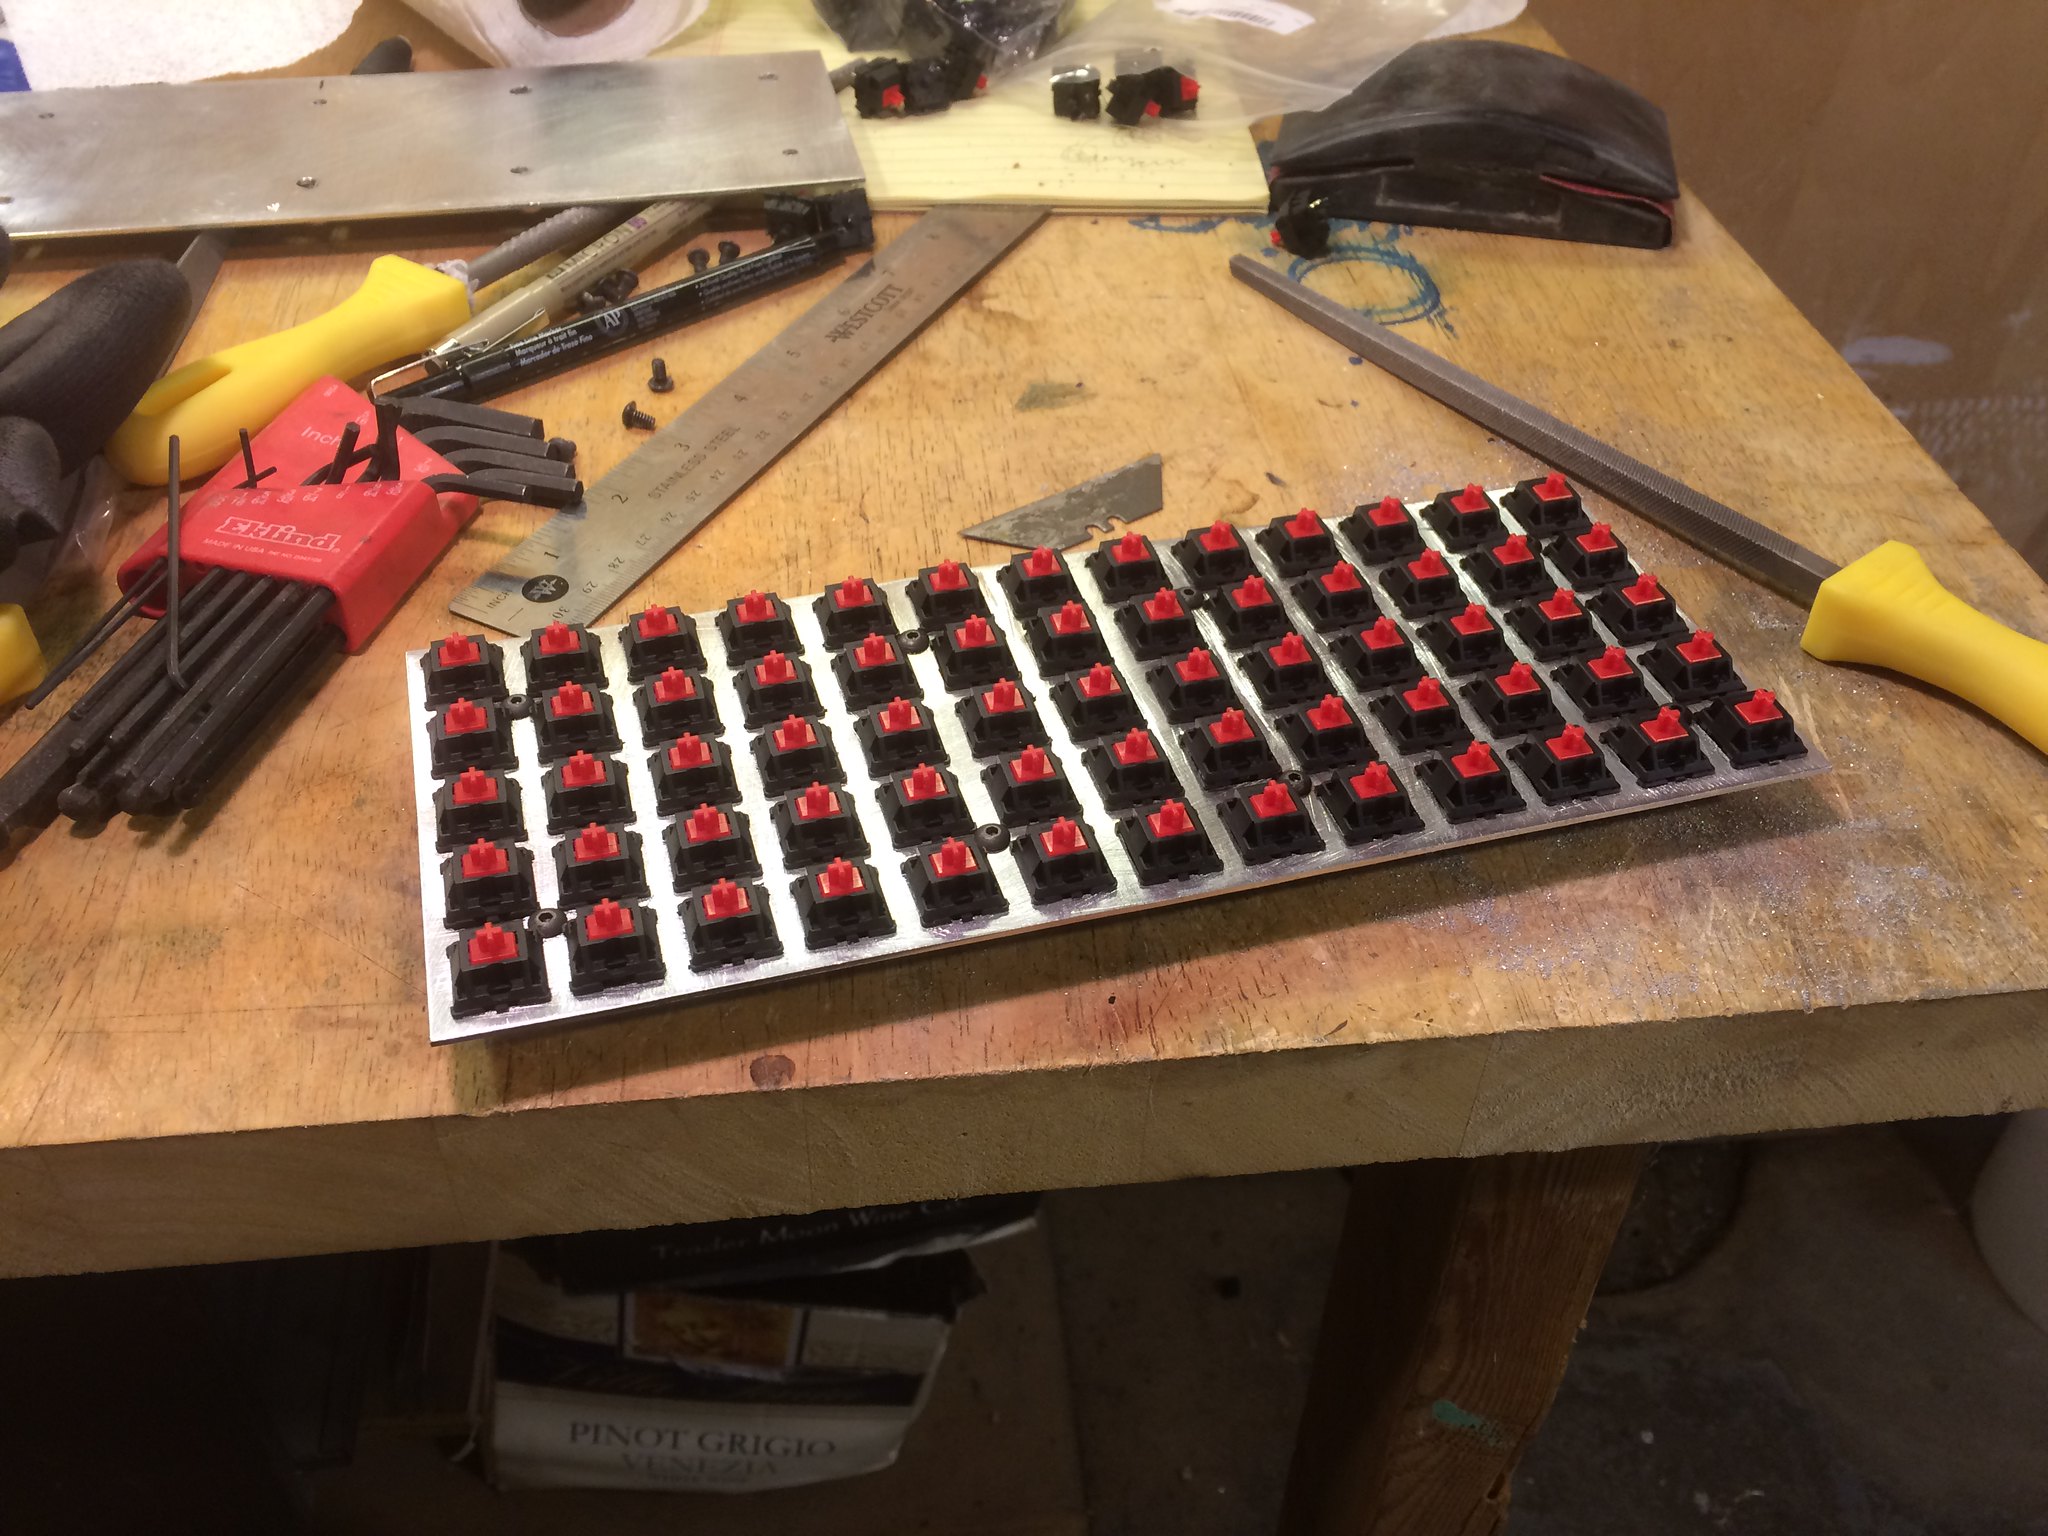
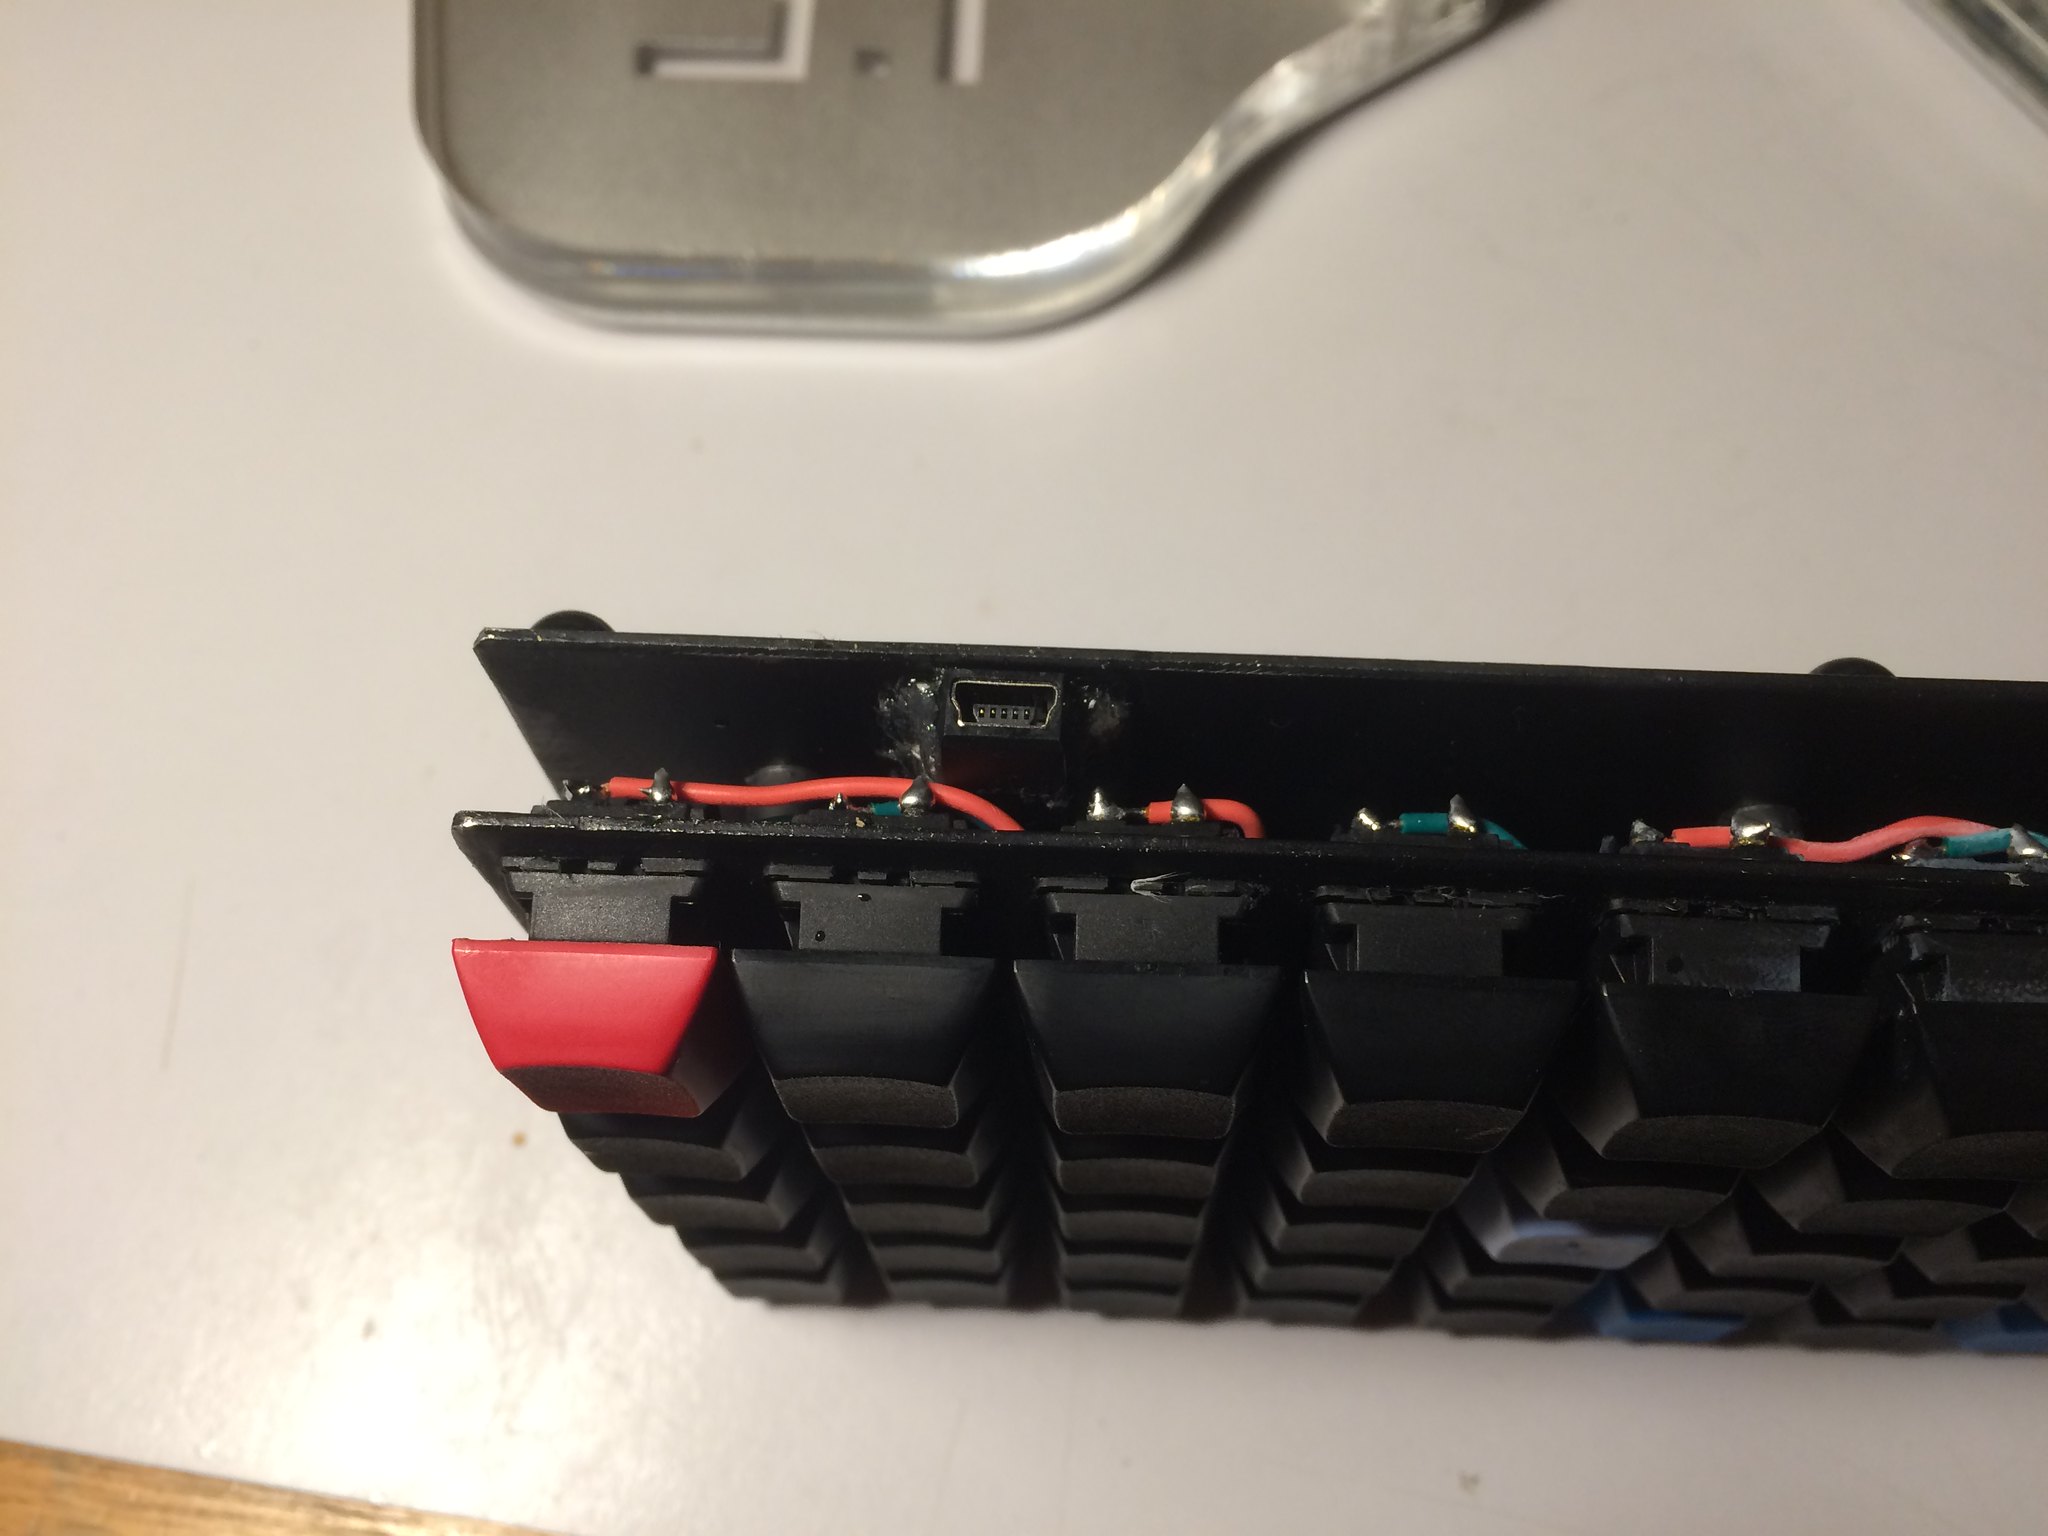
I used 1N4148 diodes to connect the rows together, and wired the columns together. I referred to the Atreus keyboard hand-wiring guide to help with the wiring.
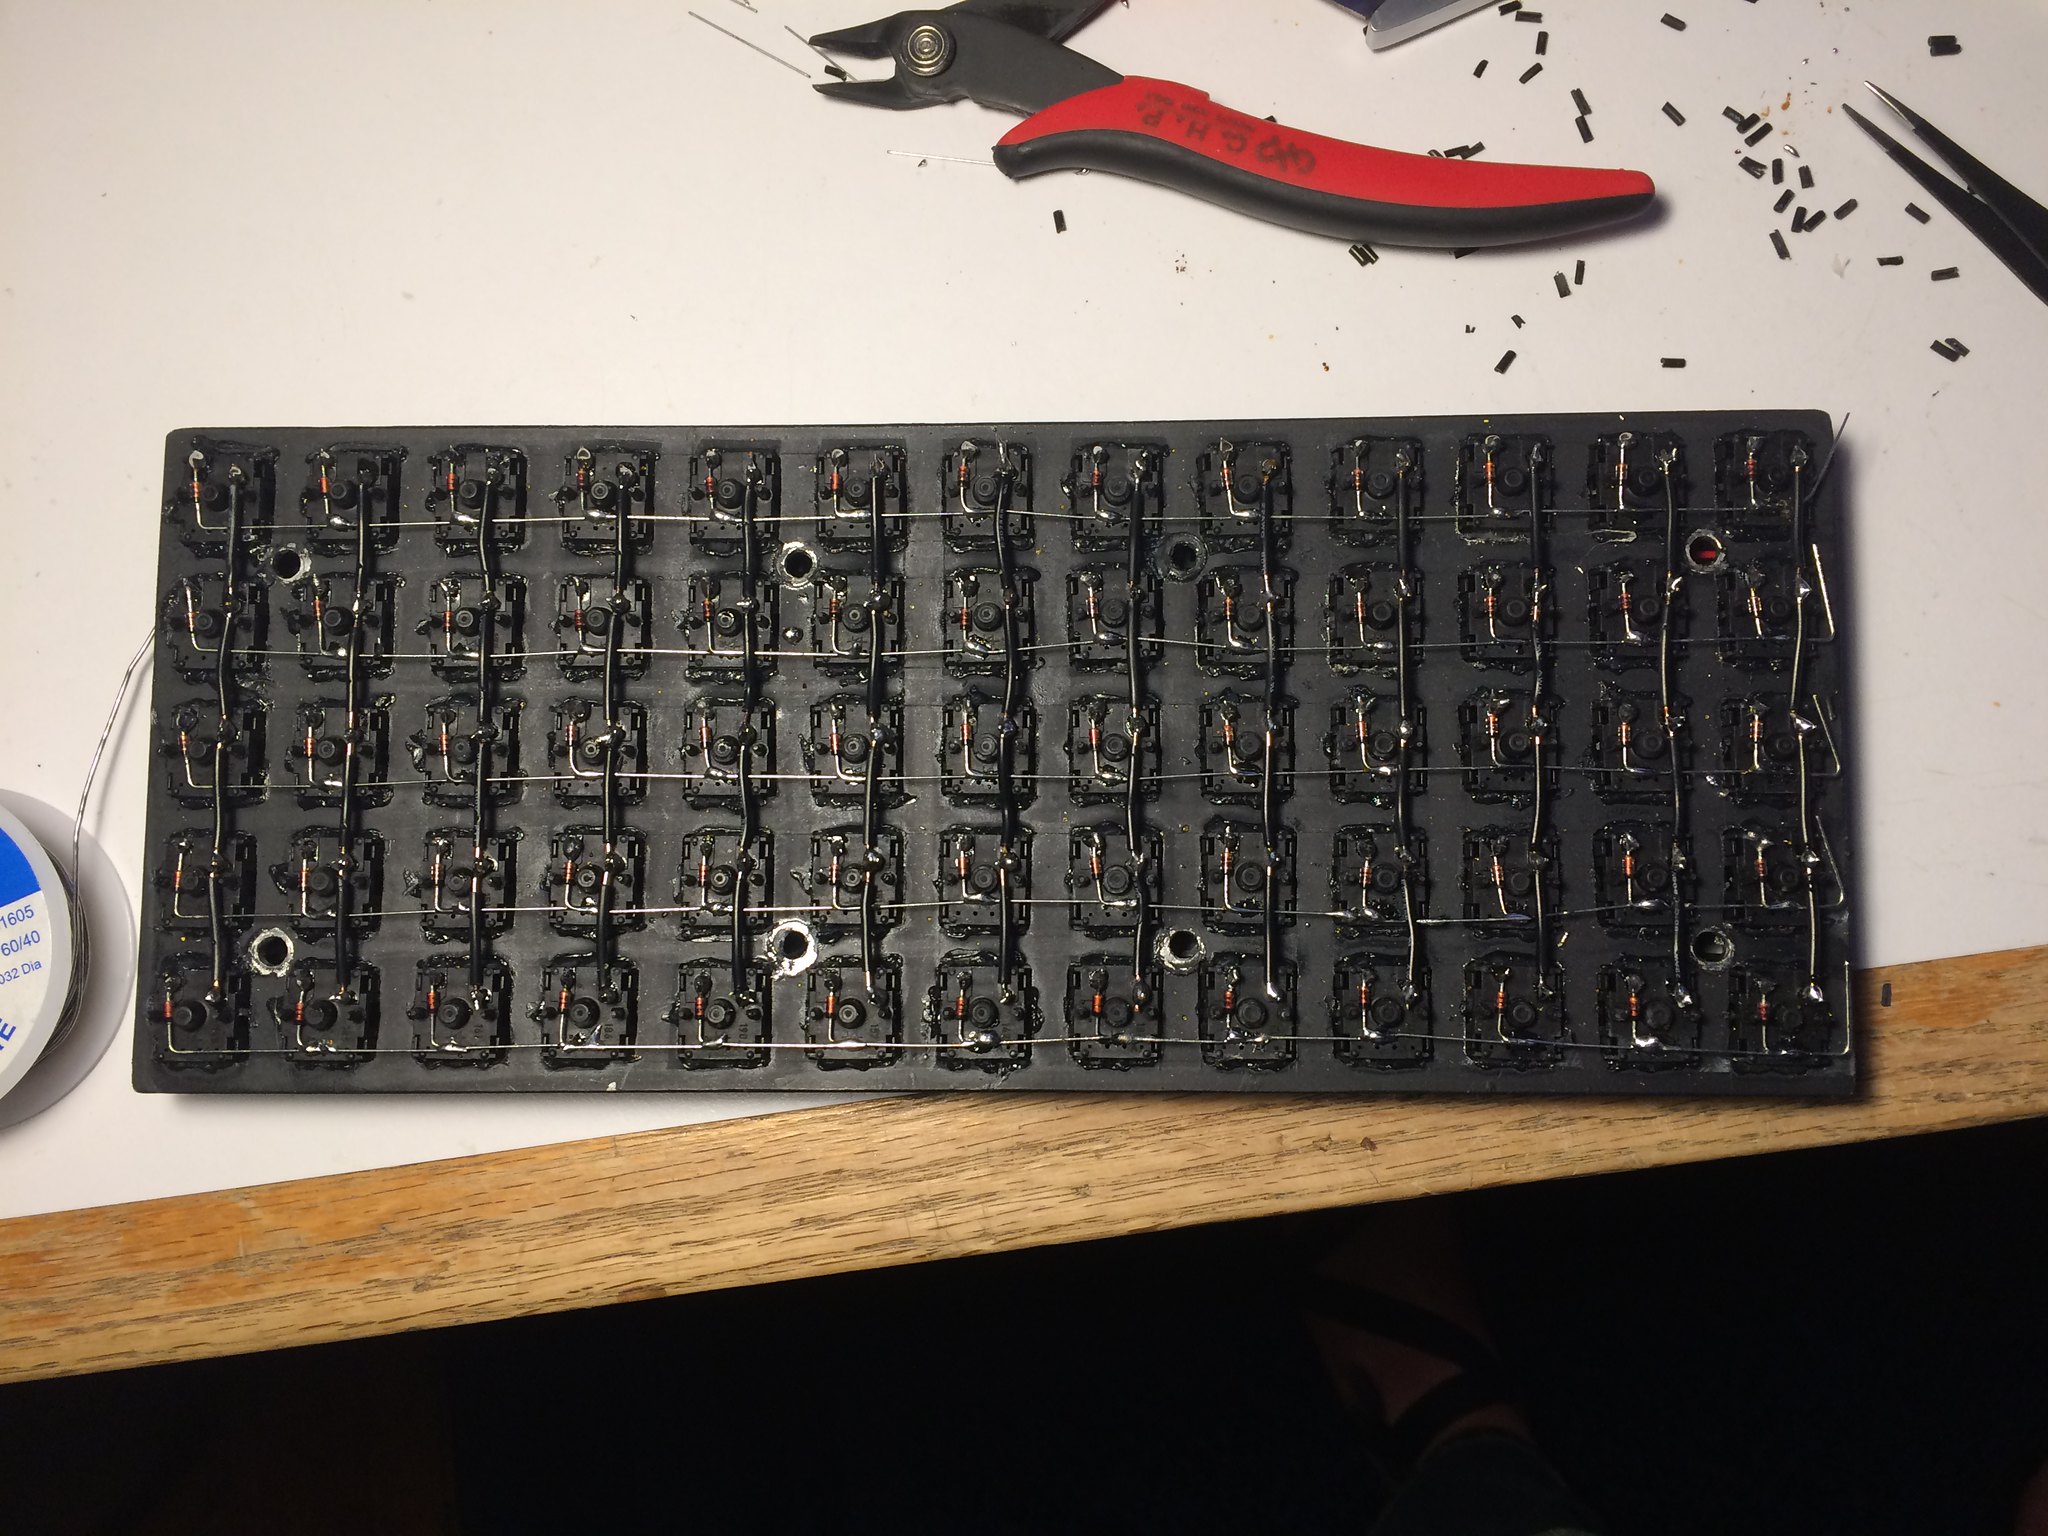
Each of the columns and rows are connected to a Teensy microcontroller. I had to take care to avoid the standoffs when wiring the keyboard.
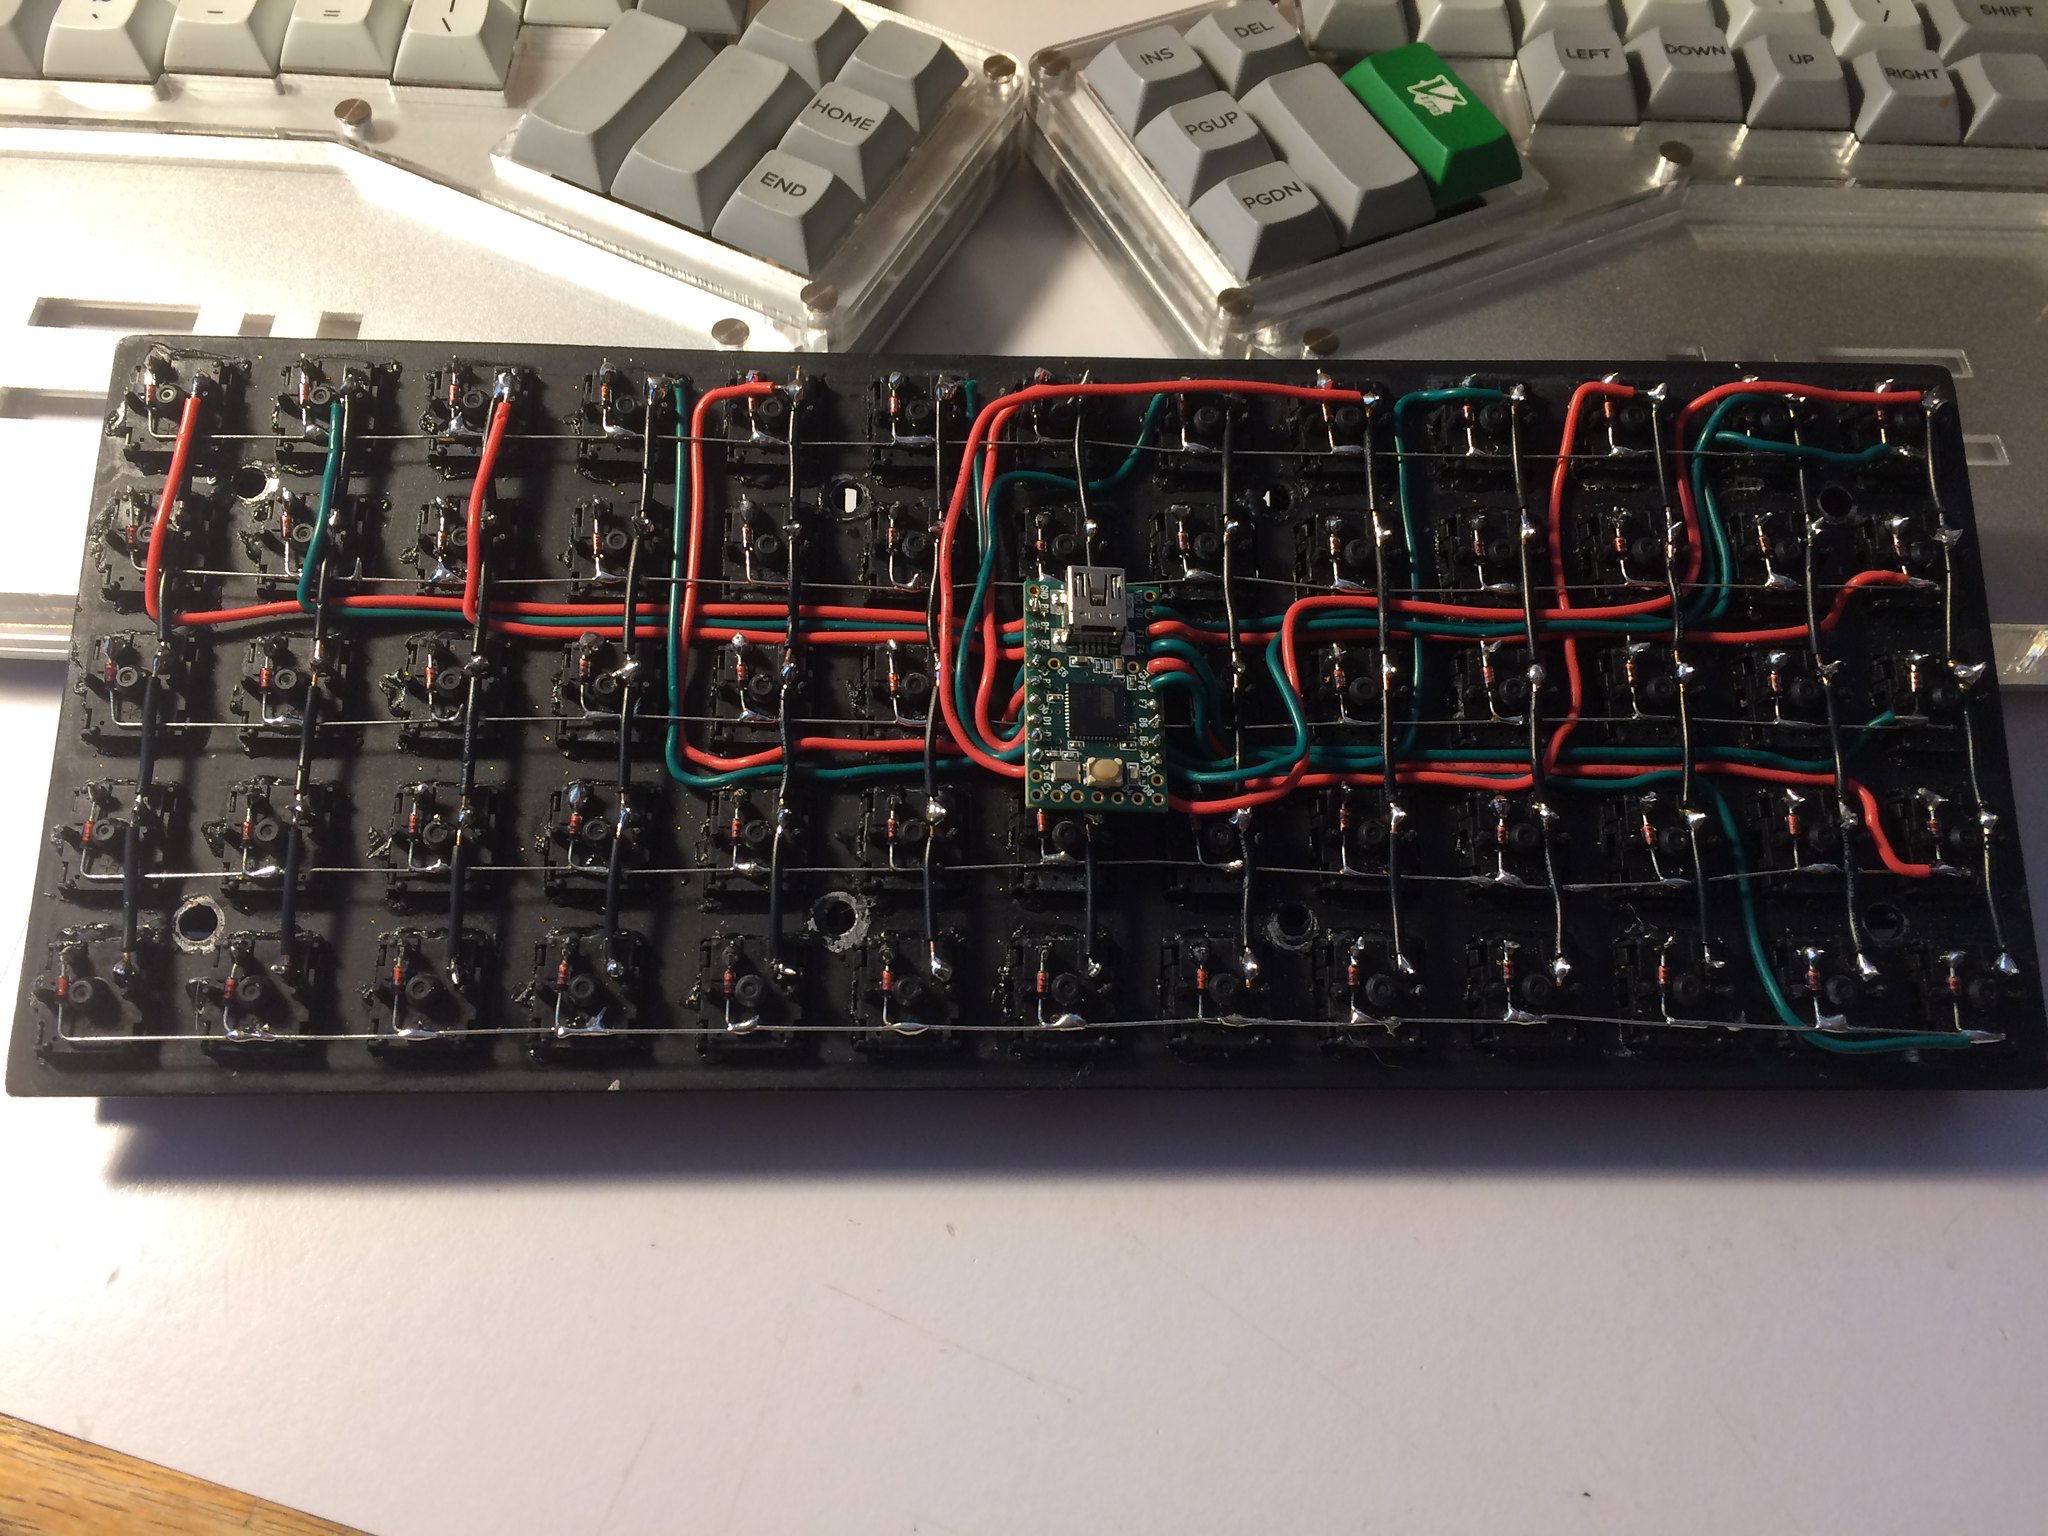
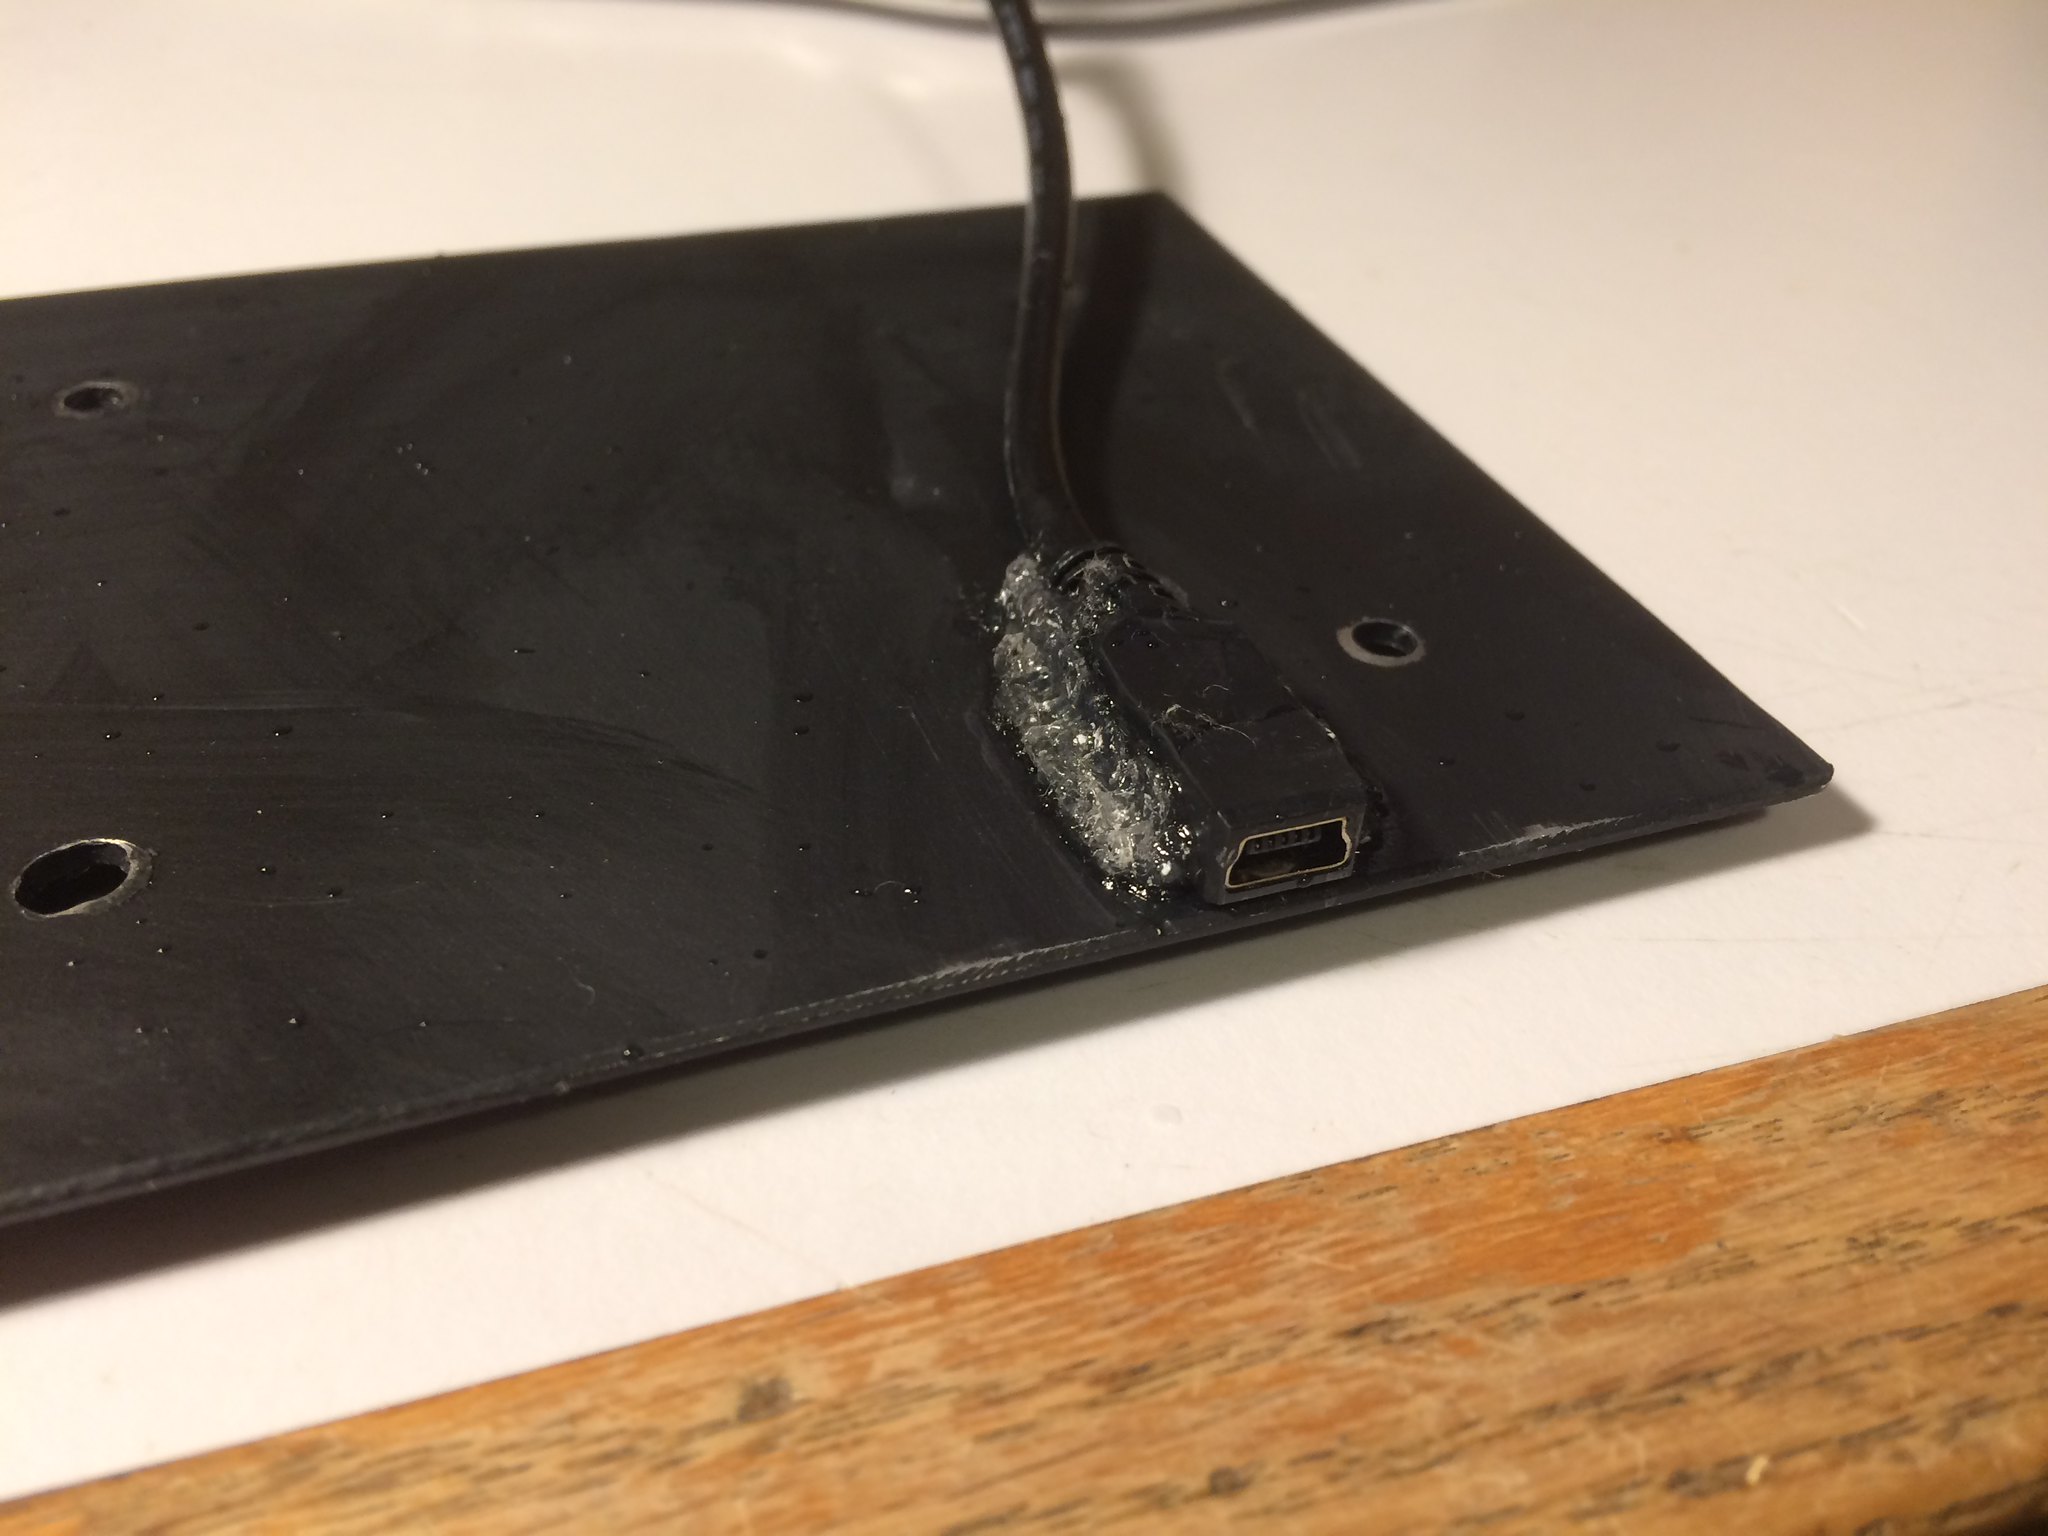
I used a micro USB extension cable to complete the keyboard, and glued the end of it to the bottom of the case.
To program the keyboard, I used the open source QMK firmware. I started with the Atreus keyboard configuration, and edited the configuration header file to match the wiring of the rows and columns. I then edited the keymap header for the keyboard layout. The QMK firmware provides macros for function layers, and will automatically produce a standard shift layer.
Then, (after installing some build tools), I compiled the firmware and flashed it to the Teensy using the Teensy loader tool provided by PJRC.